Below, you will find instructions on how to manually upload invoices into the portal.
Navigate to Upload – Invoice Upload

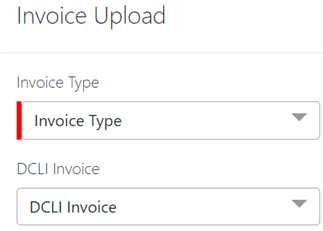
You will then be presented with the Invoice Upload screen. (As below)
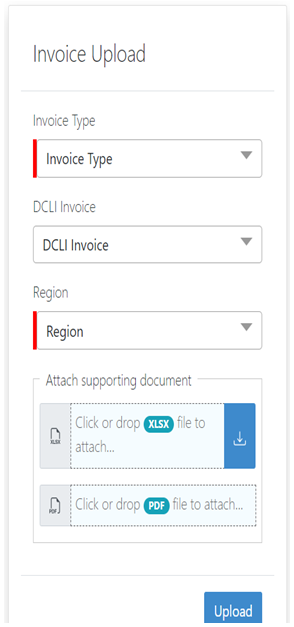
Users will select from the Invoice Type drop down when working with Non-DCLI manual uploads. These instructions apply regardless of Per Diem, Chassis or Toll invoices. Let’s look at an example of a Chassis Non-DCLI manual upload.
Users will begin by choosing Chassis Usage from the Invoice Type drop down. Notice the DCLI Invoice drop down is greyed out when a selection is made. Only one of the drop downs can have a selection at a time.
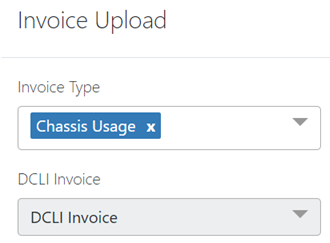
If the incorrect selection was made, simply click the x to the right of Chassis Usage. (As above)
After choosing Chassis Usage from Invoice Type and selecting the Region, the user is presented with the Create Header screen. From here, the process is unchanged.
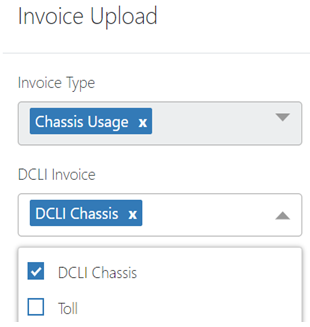
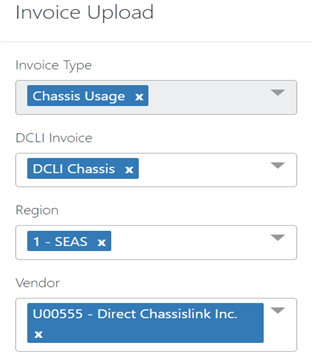
For DCLI Chassis, users will first select “DCLI Chassis” from the DCLI Invoice drop down, select a Region, select the DCLI vendor code and attach the files for the summarized invoice. (As below)