To access the EDI Worksheet from SWS main menu, go to Customer Service, left click on EDI, then left click on Load Tender (204) NEW.
There are up to five (5) possible “Actions” per EDI Tender line within the worksheet: “View”, “Edit”, “Reinstate” (if applicable), “Order-Linking” and “Reassign”.
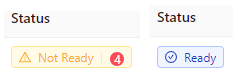
Prior to being accepted, an EDI Tender can be one of two status types:
“Not Ready” and “Accept”. (As below)
To “View” an EDI Load Tender, first left click in the box to the left of the line to select. An “Action Bar” will then display at the bottom of the worksheet. (See example below)

Next, left click on the “View” button.
NOTE: No changes can be made when in “View” mode. The “Tender” # will be displayed at the top left of the screen along with the DATE and TIME the Original or Update Tender was received. (See example below)

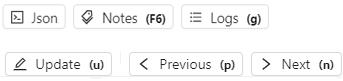
Four (4) additional options are available from “View” mode: “Json”, “Notes”, “Logs” and “Update”. (As below)
Json: Left click on the “Json” button to view all EDI Tender field information received
Notes: Hit the “F6” key or left click on the “Notes” button to view the EDI Tender Notes sent by the customer. (See abbreviated snapshot below)
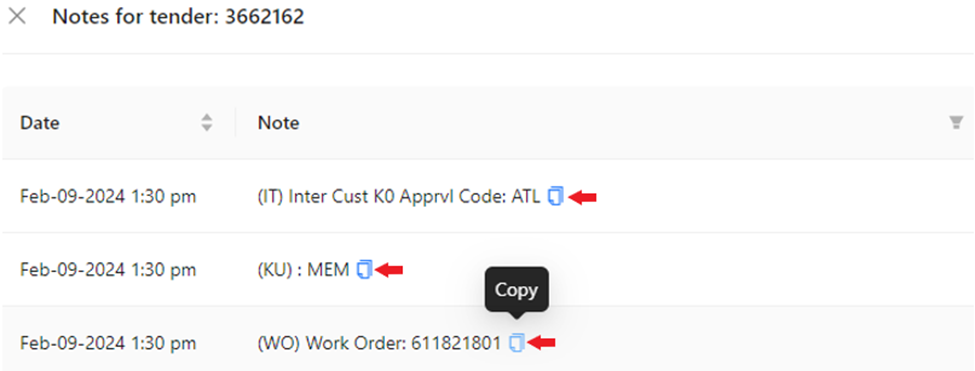


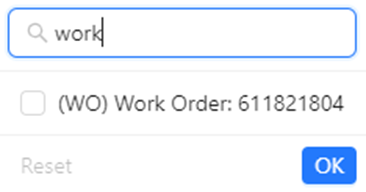
ALL notes will be listed. Left click in the box to the left of the Note(s) you wish to display. To clear the selections, left click on “Reset” located at the bottom left of the window or deselect by left clicking in the box(es) again. Next, left click on the blue “OK” button. (See example below)
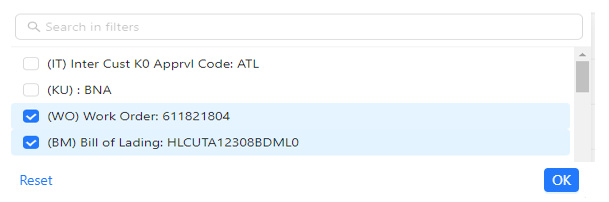

Alternatively, you can use the “Search in filters” field to type key words to locate a certain type of note.
NOTE: This field uses typeahead so any matches to the data typed in the field will display. (See example below)
Once the desired note or notes are found, follow the same directions previously outlined to view.


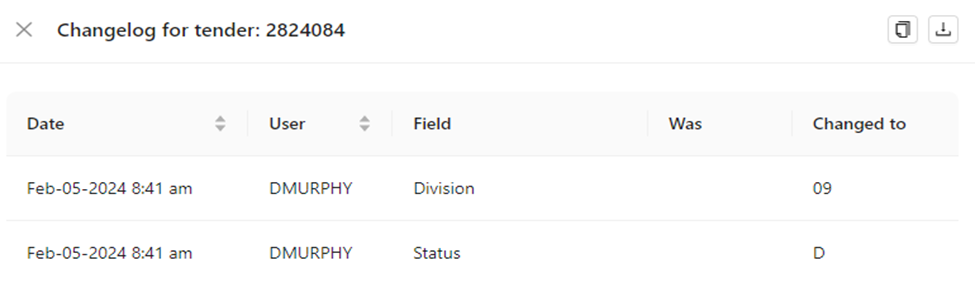
Logs: Type a “g” (hot key) or left click on “Logs” to view any changes made to the EDI Tender. (See abbreviated snapshot below)
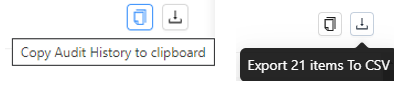
There are two (2) additional actions available from this view: “Copy Audit history to clipboard”
and “Export items to CSV”. Left click on the applicable action button to execute that process. (As below)
To CLOSE the “Logs” window, left click on the “X” located at the top left of the window. (As below)

Update: Type a “u” (hot key) or left click on “Update” to enable edit mode. “Editing a
Tender” will be covered in the next section of this training module.
Previous: Type a “p” (hot key) or left click on “Previous” to move to the previous Load Tender when multiple Load Tenders have been selected to “View”.
Next: Type a “n” (hot key) or left click on “Next” to move to the next Load Tender when multiple Load Tenders have been selected to “View”.
NOTE: For “Previous” and “Next” commands, the # of the Load Tender you are looking at in the series will display at the top right of the page. (As below)

To CLOSE the “View” window, left click on the “X” located at the top left of the window. (As below)

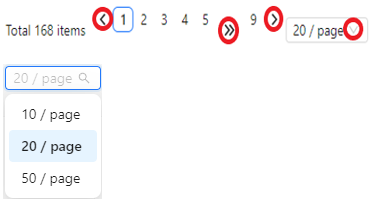
To NAVIGATE to another page of the worksheet, left click on the desired page # or left click on the single right or left arrow. Left click on the double right or left arrow to move forward or backward five (5) pages. The default setting for the # of data lines displayed is 20. Left click on the dropdown to select/change the number of data lines you wish to view. (As below)
To SAVE a VIEW:
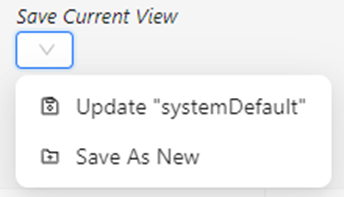
With the desired View displayed, left click on the dropdown arrow below “Save Current View”. Next, left click on either the “Update” or “Save As New” options. (See below)
NOTE: Choosing the “Update” option will save any applied filters to the Displayed View.
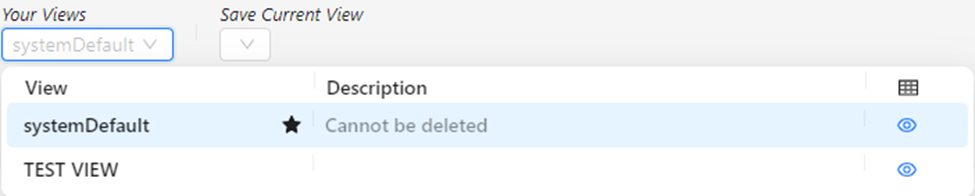
NOTE: The “systemDefault” view Cannot be deleted. (As below)
Miscellanous Column Information:
“Purpose”- Will list if “Original” EDI Tender, the # of the EDI Tender “Update” received or if “Cancelled” by the customer. (As below) NOTE: This is a customer tender status.

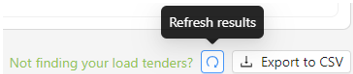
To REFRESH worksheet data, left click on the “Refresh results” button located to the far right of the worksheet below the filter criteria search field. (As below)
To EXPORT worksheet data, left click on the “Export to CSV” button below located to
the right of the “Refresh results” button. (As below)
NOTE: Worksheet must be under 1000 rows in order to Export.
To perform a HARD REFRESH, left click on the “Hard Refresh Page” button located at the top left of the page. (As below)

NOTE: Using the “Refresh Results” button would be the equivalent of a page refresh. Using the “Hard Refresh Page” would be the equivalent of closing the Worksheet and then reopening.
