To access the CSR Worksheet from SWS main menu, go to Customer Service, left click on Order Entry, then left click on Worksheet.
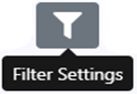
To ADD a Filter, first left click on the “Filter Settings” button located at the top middle of the screen:
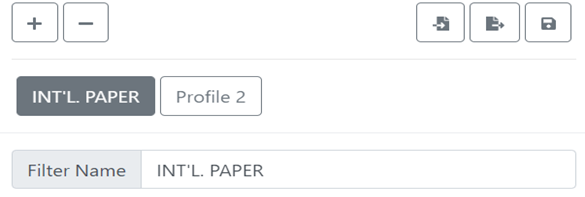
NOTE: The CSR Worksheet will store up to a total of 9 (nine) saved filters. Each filter can be individually named and will appear at the top of the CSR Worksheet. The “active” or “selected” filter will be shaded dark gray. (As below)
For first time users, the below window will display:
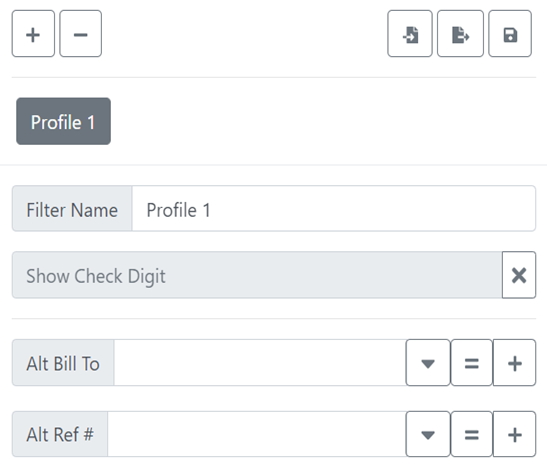
Next, left click on the “+” sign located at the top left of the window. (As below)
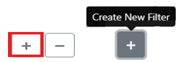
The added filter will be named in succession: Profile 1, Profile 2, Profile 3, etc. up to Profile 9.
To RENAME a filter, first left click on the applicable filter (will be shaded dark gray once selected), next left click on the “Filter Settings” button, type the desired information in the “Name” field and then hit the <Enter> key. (As below)
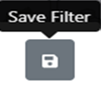
To SAVE a filter to your computer, first left click on the applicable filter (will be shaded dark gray once selected), then left click on the “Filter Settings” button, then left click on the “Save Filter” button located at the top right of the window. (As below)
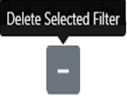
To DELETE a filter, first left click on the applicable filter (will be shaded dark gray once selected), then left click on the “Filter Settings” button, then left click on the “Delete Selected Filter” button located at the top left of the window. (As below)
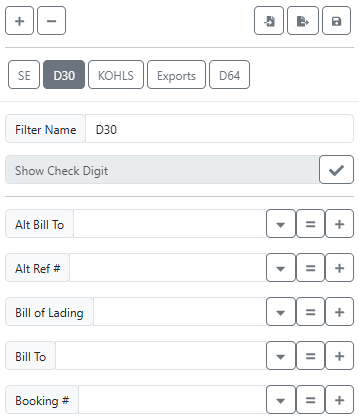
NOTE: When searching for individual filters to apply, keep in mind they display in alphabetical order. (See example below)
To APPLY a filter, type the applicable value in the empty field to the right of the filter/field name and hit the <Enter> key or left-click on the “+” sign to add. (As below)

The entered value will then display below the filter name. (As below)

Where applicable, you can enter multiple values in the field. (As below)

To CLEAR a filter, left-click on the added value to remove.
If no value is entered in a specific field, then All values will be displayed. (As below)

Some filter options will only have a Dropdown that will allow multiple selections. (See example below)

For filters displaying an “=” sign, left click on this button and it changes to Not Equal (to). This option could be used when a user wants to exclude a certain value from the filter. If applicable, remember to left-click on this button again to remove before entering a different filter value. (As below)


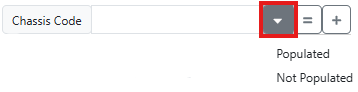
Filters that display a dropdown arrow allow other filter/field options. (As below)
Those filters/fields that require a date entry will have a dropdown that will include the below options:
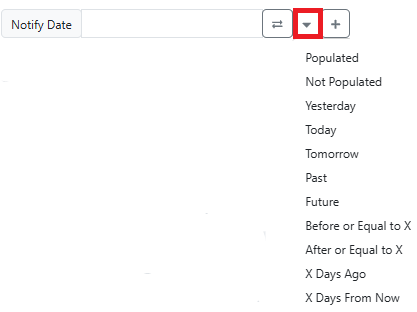
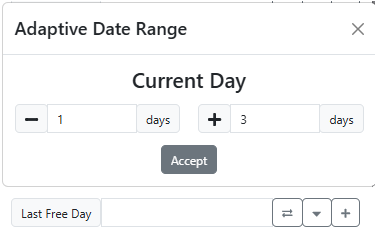
Those date filters that include the action button below allow users to set an “Adaptive Date Range”.

Users can select a specific # of days before and/or after the “Current Day”, then left-click on the “Accept” button. The filter will be applied as defined. (See below

To EXPORT a Filter, first left click on the applicable filter (will be shaded dark gray once selected), then left click on the “Filter Settings” button, then left click on the “Export Filter” button located at the top right of the window. (As below)
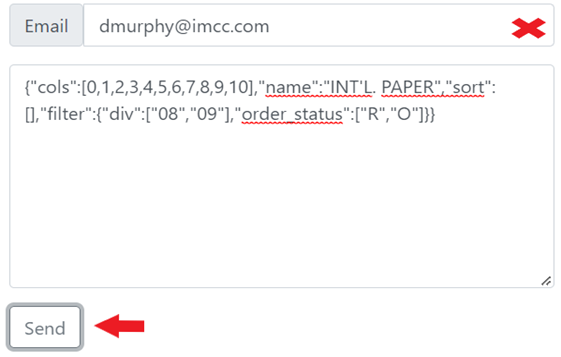
The below window will display. In the “Email” field, type the email address of the IMC employee you wish to send this Filter to. All of the individual filters that are selected within the filter to be exported will be copied automatically in the middle section. Lastly, left click on the “Send” button.
HINT: Use the function to share filters with fellow employees.
To IMPORT a Filter, first check your email for the Exported Filter. (See example email below)
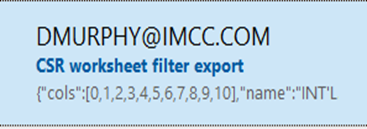
Next, when the email is displayed, copy just the characters from the beginning to the end of the email string. Do not add any spaces. (See example below)
{"cols":[0,1,2,3,4,5,6,7,8,9,10],"name":"INT'L. PAPER","sort":[],"filter":{"div":["08","09"],"order_status":["R","O"]}}
Next, left click on the “Filter Settings” button located at the top middle of the screen. Next, left click on the "Import Filter” button located at the top right of the window. (As below)
The below window will display. In the “Filter” field, paste the entire copied string of characters from the email. Next, left click on the “Submit” button. (As below)
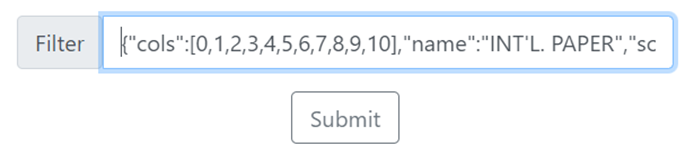
A filter with the exact same name and filter parameters will be added to the list of Filters within the CSR Worksheet.
NOTE: The “Import Filter” button can only be selected when there are 8 (eight) or less filters saved in the receiving user’s worksheet.