The Customer Notifications Modal is used to alert participating customers of specified service alerts, (delivery, pickup, etc.).
To set up Customer Notifications, it is necessary to first access the Location Profile for that customer. From SWS main menu, go to Customer Service, left click on File Maintenance, then left click on Location Profiles (Legacy).
Once the desired Location Profile is displayed, left click on “Settings” (located above the command line), then left click on “Customer Notification”. (As below)

If a Customer Notification has not been previously set for this Location Profile (in this example CARG23 is being used), the below screen will display:
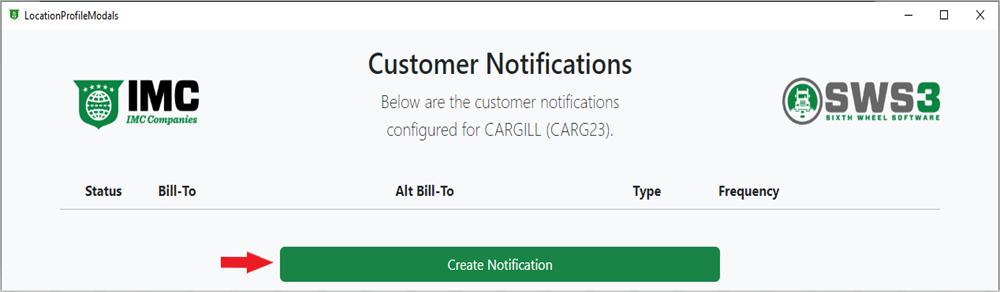
To CREATE a Customer Notification, left click on the green “Create Notification” button. (As above)
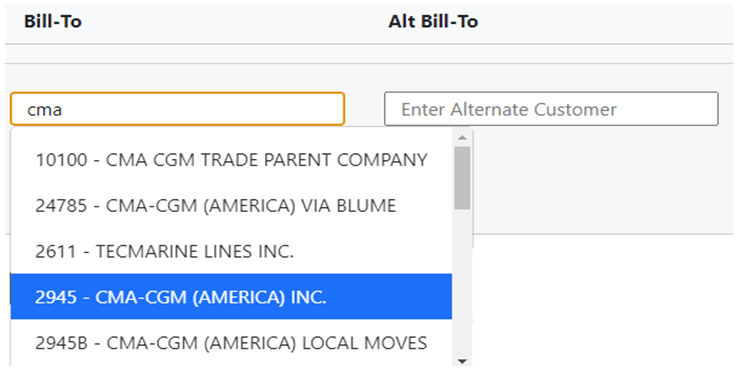
Next, in the “Bill-To” field, begin typing the name of the Bill-To party or the Bill-To code itself. This field uses typeahead and all results that contain the entered data will display. When the desired selection is displayed, left click on that option. (See example below)
NOTE: Bill-To customer information including the Bill-To code can be queried within SWS. From the main menu, go to Customer Service, left click on File Maintenance, then left click on Customer (BillTo).
SPECIAL NOTE: Either the “Bill-To” or “Alt Bill-To” fields (or both if applicable) can be updated but both cannot be left blank. The “Alt Bill-To” is the “AltShip” field in the order screen. (See below example)

Next, use the dropdown arrow under “Frequency” to select the event type that the customer would like to be notified of. In addition to event (dispatch) types, once certain documents have been uploaded into an Order Pro, notifications can be set up to send (email) that document to the customer as soon as it is available. (As below)
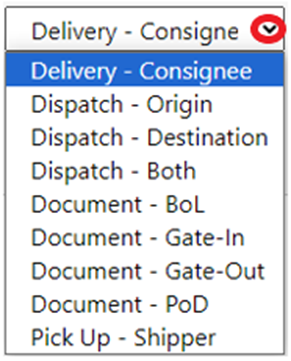
NOTE: Multiple event types or document types cannot be selected; a notification must be created for each event type or document type as requested by the customer.
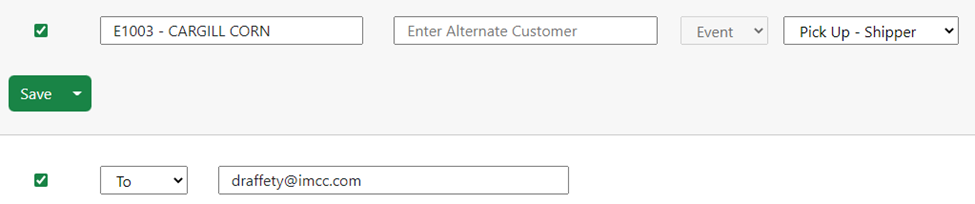
Next, type the customer’s email address that the notification will be sent to. (As below)

To ADD another email address, left click on the green “Add Email” button, select “To”, “CC” or “BCC” from the dropdown (“To” is the default) and type the email address in the box.
Once at least one email address has been entered, the “Save” button will turn green and become active. Left click on this button to save the notification. (See example below)

If the applicable Location Profile is later queried and the Customer Notifications modal displayed, it will appear as below:
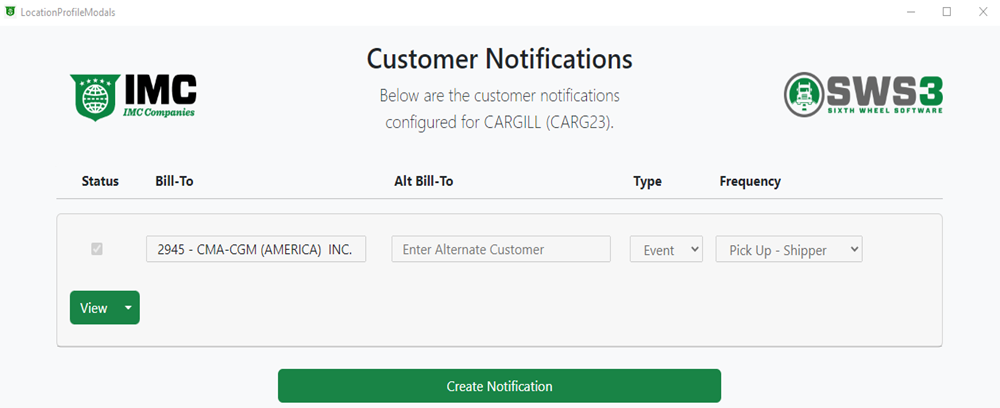
Left click on the green “View” button to display the customer email addresses added to the notification. Left click on the dropdown arrow on the “View” button for two options: “Clone“ or “Edit”. (As below)
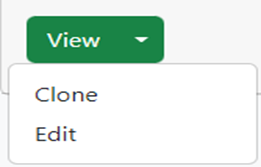
“Clone” will copy the notification “Bill-To”, “Alt Bill-To” (if applicable) and email addresses already created. These fields can then be edited to add an additional notification (Bill-To) party. Once the email address information has been entered, left click on the green “Save” button. (As below)
NOTE: Complete these steps until all necessary notification records and email addresses have been added.
“Edit”- Left click to allow changes to be made to the “Bill-To”, “Alt Bill-To” (if applicable) and email addresses already created. To delete a saved email address, left click on the trashcan symbol to the right of the email address. (See example below)

Once any changes have been made, left click on the green “Save” button.
When in “Edit” mode, there are two options available from the drop down: “Cancel” or “Delete”.
“Cancel”- Left click to abort the Edit Process.
“Delete”- Left click and this window will display:
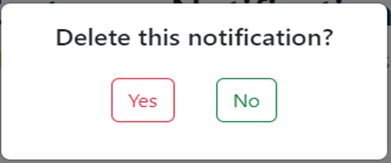
Left click on “Yes” to delete the notification above or left click on “No” to return to the notification.
Additionally, when in “Edit” mode, to temporarily suspend a notification, left click in the box to the left of the “Bill-To” field to unselect, then left click on the green “Save” button. (As below)
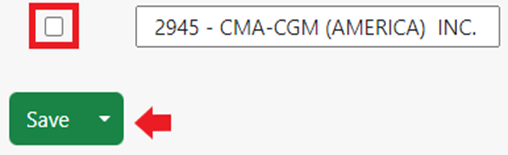
NOTE: To reactivate the suspended notification, follow the same steps as above but recheck the box prior to left clicking on the “Save” button.
