To access the Dispatch Optimizer (D.O.) from SWS main menu, go to Easy Operations, left-click on Dispatch, then left-click on Dispatch Optimizer.
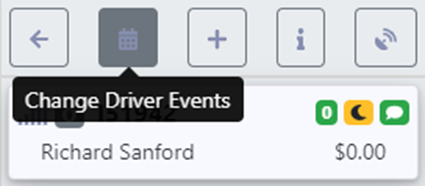
The Driver Event Calendar is used to record changes to an individual driver’s work schedule. To access the calendar, first left click on the driver’s “card” from the driver list. Next, left-click on the calendar icon “Change Driver Events” button directly above the driver’s “card”. (As below)
A calendar (abbreviated example below) will display. The default view is the current month with “Today” shaded in light green.
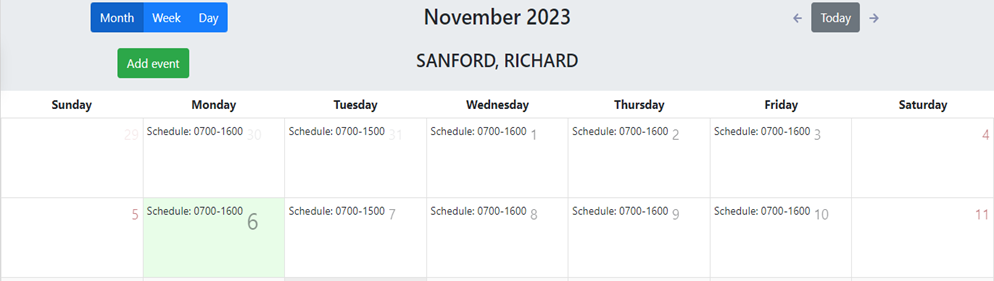
“Week” & “Day” view are also available by left-clicking on the desired tab. (As below)

To view a previous or future Month, Week or Day (based on selection), left-click on the left or right arrows visible next to the “Today” button. To return to the current view, left-click on “Today”. (As below)

NOTE: Driver schedule events can be added for past or future dates.
To ADD a one-time event, left-click on the green “Add event” button. (As below)
The below window will display:
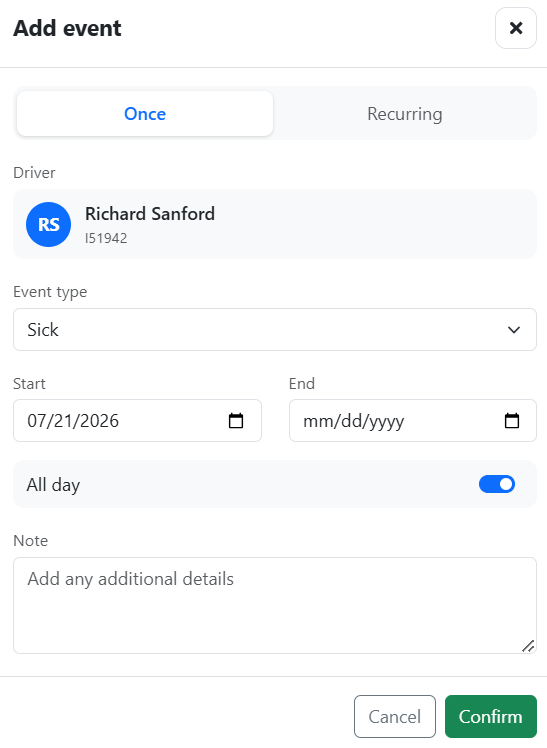
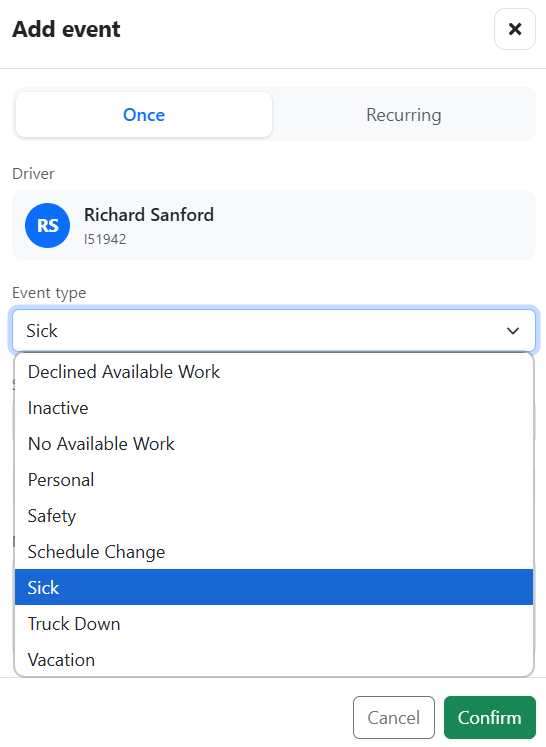
The default (tab) setting will add an event “Once”. Left-click on the down arrow below “Event Type”, then left-click on the applicable classification. (As below)
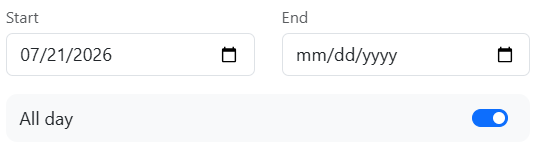
The “Start” date defaults to the current date and the “All Day” toggle will automatically be applied. (As below)
If the event is applicable only to the current date and is an “All Day” occurrence, type any necessary details in the “Note” field then left-click on the green “Confirm” button. The entered event will then show on the calendar and the driver’s “card” turns Green for easier visibility. (As below)
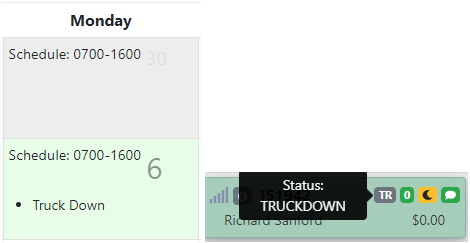
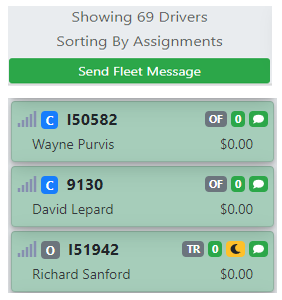
NOTE: The drivers with confirmed events will display at the end of the driver list although the order could be impacted by applied filters. (See example below)
To ADD an event that is not “All Day”, click on the toggle to move to the left-hand position and then manually enter the “Start” time and “End” time in the fields below or by using the clock icon.
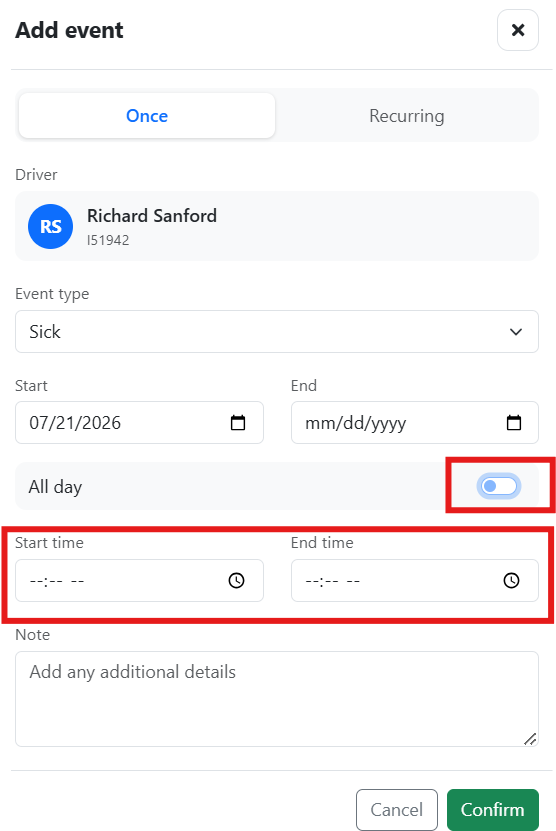
NOTE: To abort the entry, left click on the “Cancel” button.
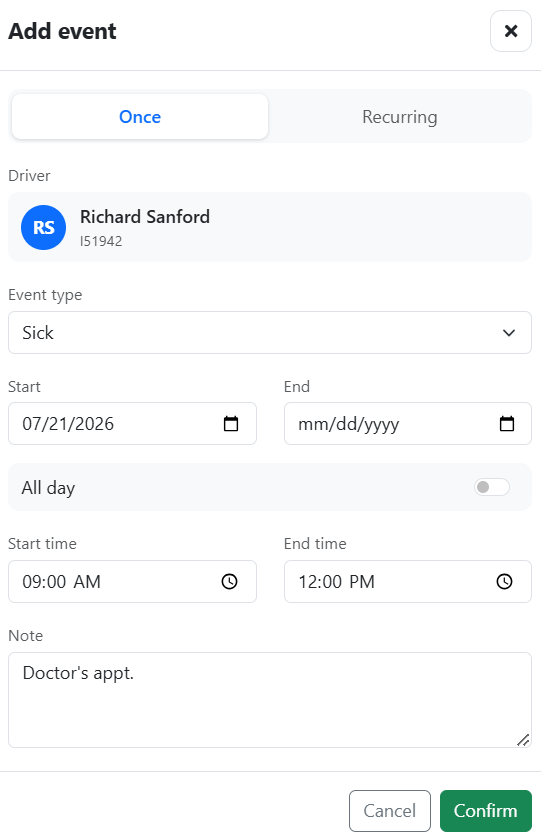
Left click on the “Confirm” button when both the “Start” and “End” times have been entered. Remember to enter any necessary or helpful information in the “Note” section. (Example below)
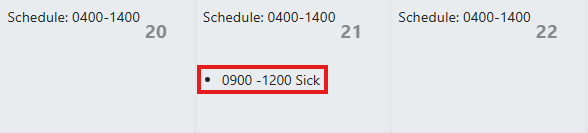
The event will then be displayed on the calendar. (As below)
To EDIT or DELETE an event, left-click on the entry on the calendar itself. An “Edit Event” window will display. Make the desired changes to the event, then left-click on the “Confirm” button. Left-click on the “Delete” button to erase the entry or left-click on the “Cancel” button to abort the process. (As below)

To ADD a “Recurring” or repeating event, left-click on the green “Add event” button then left-click on the “Recurring” tab. There are two options available under “Event Type”: Does Not Work and Driver Schedule. (As below)
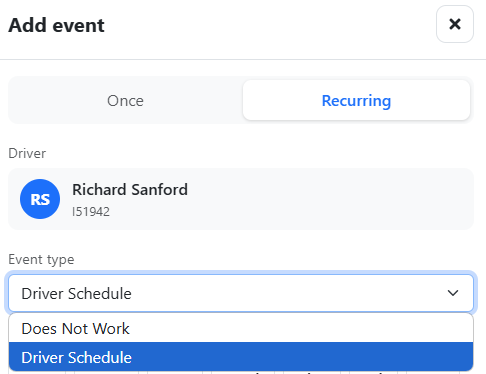
Entering a Driver Schedule is not required but could be useful when dispatching moves. The schedule entered here shows on the Driver’s “card”. (See example below)
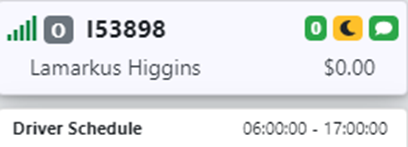
If no schedule is entered, the card will display as below:
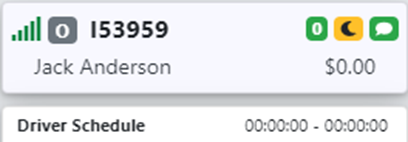
Left-click on the applicable days to select or use the “Select all” toggle to choose all days and then deselect as needed. Update the “Start date” field using the popup calendar and “End Date” if applicable. (As below)
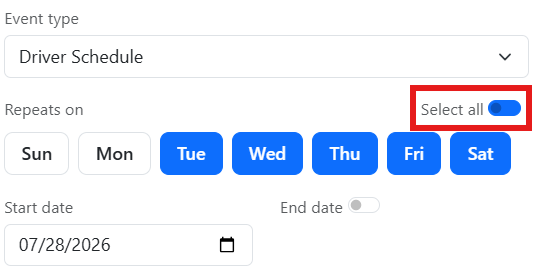
NOTE: The “All Day” option cannot be selected when entering a driver’s schedule as an error message will display. (As below)
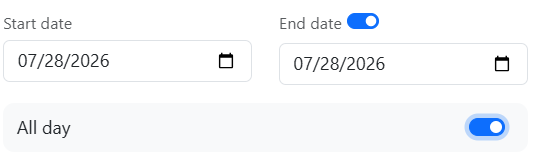

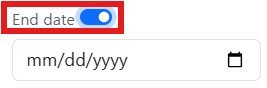
If the schedule is temporary, left-click the ”End Date” toggle to select. (As below)
NOTE: If “End Date” is not selected, the schedule entered will populate in perpetuity.
Next, enter the schedule “Start” and “End” time. (As below)

In the event a new schedule entry is attempted when one already exists, the below error message will display:

The existing schedule event must be edited/deleted before the new one can be saved.
The entered schedule will now display on both the driver’s calendar and the driver’s “card”.
Left click on the driver’s schedule (on the calendar) for any given day and the “Edit Event” window below will display.
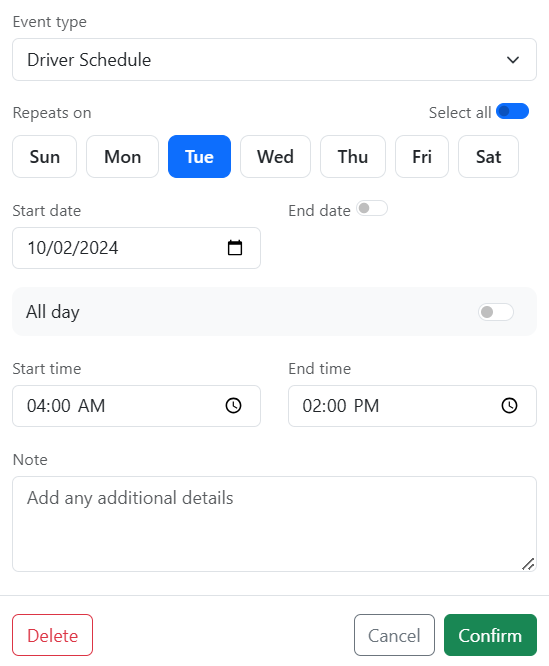
Select the day or days you wish to delete (Wednesday in the example above) then left click on the “Delete” button.
“Does Not Work” is the other recurring option available from the dropdown arrow under “Event type “. Left click on this option to select. (As below)
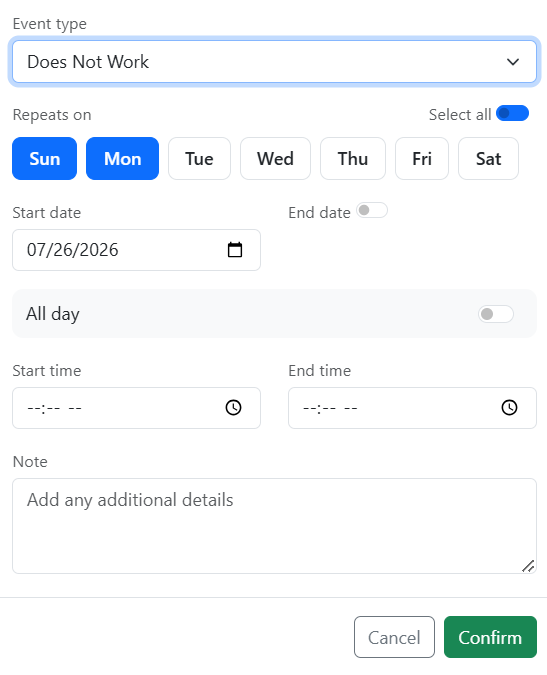
To enter the days a driver does not work, follow the same steps outlined above when entering a driver’s schedule.
NOTE: The “All Day” option can be selected when entering the days a driver does not work. (As below)
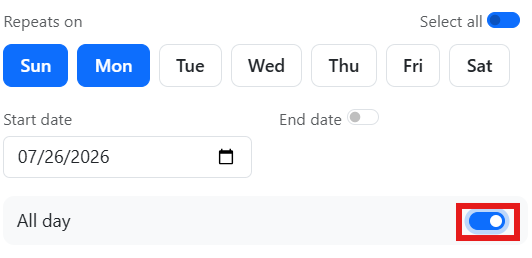
Once the days and (if applicable) times have been entered, left-click on the “Confirm” button. If successful, the below message will display:
NOTE: If a dispatcher attempts to assign a driver moves on a day that has been marked as “Does Not Work”, the below message will display:

The event must be deleted before moves can be assigned.
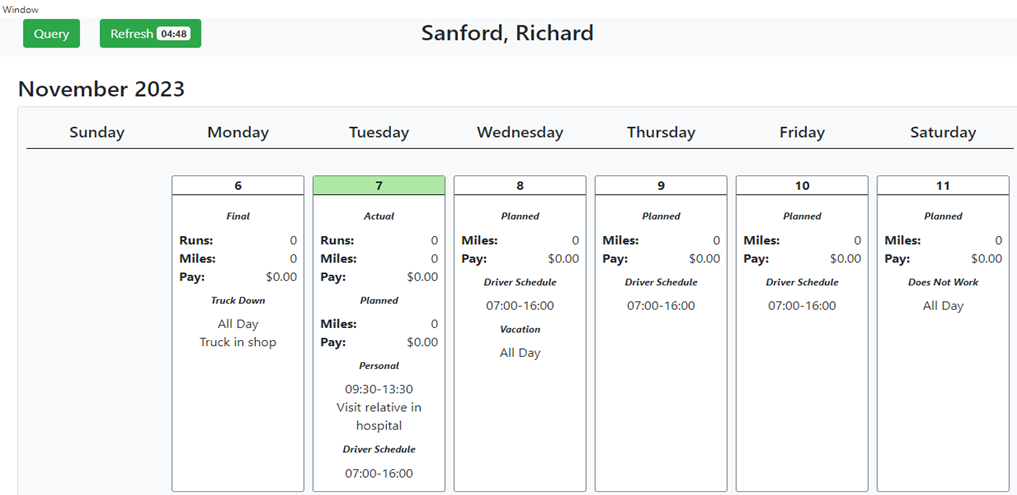
SPECIAL NOTE: All driver schedule events added in the D.O. will show on the Driver’s schedule. To access the schedule from SWS main menu, go to Easy Operations>Driver Information>Driver Schedule
(Example below)