To access the EDI Worksheet from SWS main menu, go to Customer Service, left click on EDI, then left click on LoadTender (204) NEW.
Whether viewing a default or saved filter, users can accept one or multiple EDI Tenders within the worksheet that show a “Ready” (Ready to accept) status. (As below)
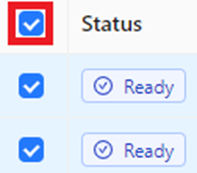
A column will appear to the left of the “Status” column. To select ALL EDI Tenders, left click the box to the left of “Status”. To select individual EDI Tenders to accept, left click in the box to the left of that EDI Tender. To deselect ALL EDI tenders, left click in the box to the left of “Status” or for individual EDI Tenders, left click in the box (As below)
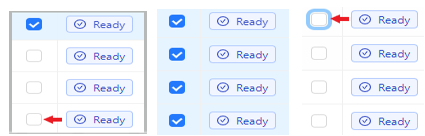
NOTE: To select multiple EDI Tenders in succession, first hold down the “Shift” key then left click in the box to the left of the first Tender to accept. Next, with the “Shift” key still held, left click in the box to the left of the last Tender to accept. All Tenders between the first and last selected will auto select. To deselect, with the “Shift” key held down, left click in the box to the left of the first selected Tender. All Tenders in the previously selected grouping will be deselected. (As below)
When one or more Tenders have been selected, an “Action Bar” will appear at the bottom of the worksheet. The number of Tenders selected will be listed in a green box at the top left of the “Action Bar”. Left click on the “Accept” button to accept all selected Tenders. (As below)

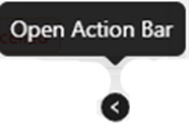
NOTE: To HIDE or minimize the “Action Bar”, left click on the “-” symbol located at the top right of the “ActionBar”. To close the “Action Bar” and “deselect” any tenders, left click on the “x” at the top right of the “Action Bar”. (As above) To UNHIDE the “Action Bar”, left click on the left arrow “Open Action Bar” visible at the bottom right of the worksheet. (As below)
After the “Accept” button has been selected, the successful Tenders will then display a status of “Accepted’ and the Order Pro will be listed under the “Update Result” column. (As below)
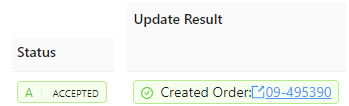
To open the newly created Pro, left click on the (blue) Pro # displayed. (As above)
NOTE: Once a “Bulk Accept” has been executed, it cannot be undone.
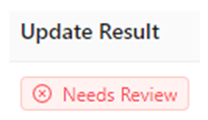
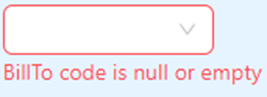
If an ineligible EDI Tender is selected to Accept, the system will populate the below message in the “Update Result” column as well as highlight the required fields that are missing. (See example below)
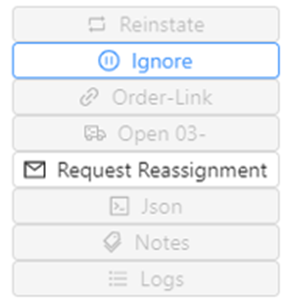
Users may choose to “Ignore” EDI Tenders that are not valid, and which do not need to be accepted or will not need to be accepted at a later date.
Once one or more EDI Tenders have been selected, left click on the “More” button on the “Action Bar”, then left click on the “Ignore” button. (As below)
A command confirmation message will then be displayed. (See example below)
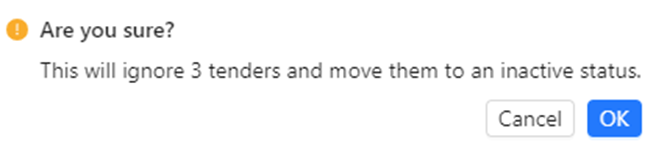
Left click on the “Cancel” button to return to the previous step. Left click on the blue “OK” button to process. The “Status” of the EDI Tenders selected will change to “IGNORED”. (As below)
If either the “Refresh Results” or the “Hard Refresh Page” button is used or the Load Tender Worksheet is closed then relaunched, all “IGNORED” EDI Tenders will no longer appear in the Active Tenders or Acceptable Import filters.