To access the EDI Worksheet from SWS main menu, go to Customer Service, left click on EDI, then left click on Load Tender (204) NEW.
Left click on the below symbol located at the top right of the worksheet to manage the “Appearance” of the worksheet as well as manage all “Filter Sets”.

NOTE: Left click on the “X” located at the top left of the “Preferences” window to close. (As below)

Under “Appearance” the two default settings are “light” and “comfy”. (As below)

To change one or both default settings, left click on the description toggle itself. (As below)

The active “Appearance” settings will appear in blue. (As below)

NOTE: Selections are saved and will be applied when launching the worksheet in the future. Left click on an active (blue) “Appearance” option to return to the default setting.
Users can share/send any Saved Filters or Views with another user. First, left click on the “Share” button. (As below)
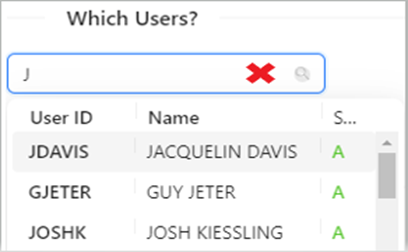
Next, left click in the “Which Users?” field. This field uses typeahead; matches to the typed data will display. Left click on the “User ID” you wish to add. (As below)
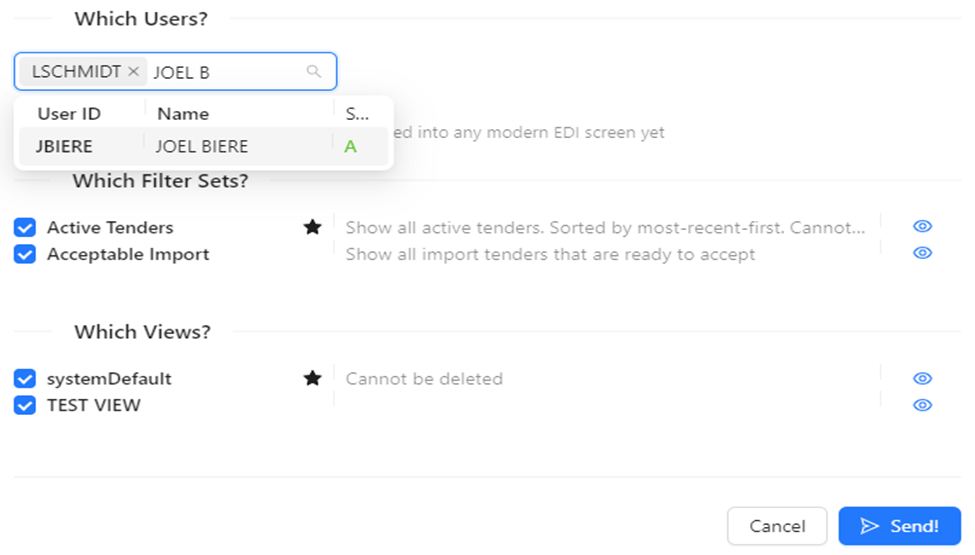
NOTE: You can share Filters/Views with more than one user. Simply repeat the process above until all User ID’s have been added.
Next, left click in the box to the left of the Filter Sets or Views you wish to share. Next, left click on the blue “Send” button to process the request. Left click on the “Cancel” button to return to the previous screen. (See example below)
NOTE: The Filter Sets and/or Views that you send to other users will appear in that user’s dropdown selections. The User will know who sent them.
Under “Filter Sets”, there are two (2) actions available:
Deleting a filter or filters and
Changing the default filter that will display upon launch of the worksheet
To DELETE one or more filters, first left click in the box to the left of the filter name. Next, left click on the “Delete” button. A warning message will display “This will remove the selected filter sets from your list.” Left click on “OK” to execute or left click on “Cancel” to abort. (See example below)
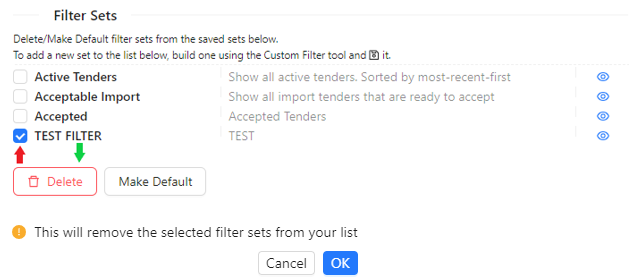
NOTE: The “Delete” button only becomes active once at least one (1) filter has been selected. It is recommended users not delete the three “preset” filters “Active Tenders”, “Acceptable Import” or “Accepted”.
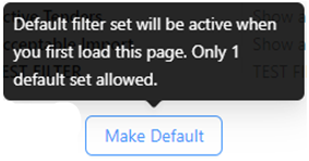
To CHANGE DEFAULT filter (displays upon launch of the worksheet) first select that filter by left clicking in the box to the left of the filter name. Next, left click on the “Make Default” button.
NOTE: “Active Tenders” is the default filter. The “Make Default” button only becomes active once one (1) filter has been selected. Only one filter can be set as the default. (As below)
Under “Views/Column Layout”, there are three (3) actions available:
Deleting a view
Changing the default view that will display when the “Customer Filter” tab is selected upon launch of the worksheet
Updating the order of the columns within a saved view
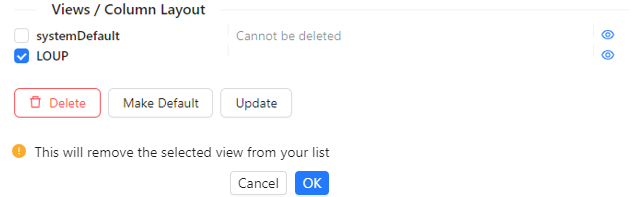
To DELETE one or more views, first left click in the box to the left of the filter name. Next, left click on the “Delete” button. A warning message will display “This will remove the selected view from your list.” Left click on “OK” to execute or left click on “Cancel” to abort. (See example below)
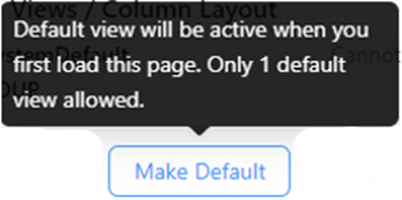
To CHANGE DEFAULT view (displays when the “Custom Filter” tab is selected upon launch of the worksheet) first select that view by left clicking in the box to the left of the view name. Next, left click on the “Make Default” button.
NOTE: “systemDefault” is the default view. The “Make Default” button only becomes active once one (1) view has been selected. Only one view can be set as the default. (As below)
To CHANGE the name of a VIEW:
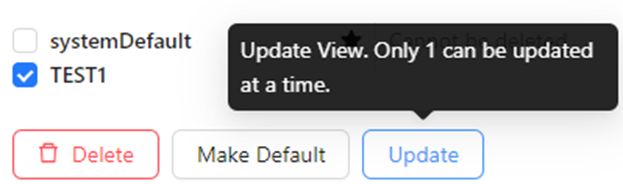
First, left click in the box to the left of the View you wish to change. Next, left click on the “Update” button. (As below)
A Column selection window will display. At the top left of the window there is a “View Title” field indicating the name of the displayed view. Left click in the field, erase the current name and enter the desired name. Next, left click on the blue “Save” button located at the bottom right of the window. (As below)

To CHANGE COLUMN SETTINGS, please refer to the Column Settings Training Module.