COLUMN SETTINGS
To access the EDI Worksheet from SWS main menu, go to Customer Service, left click on EDI, then left click on Load Tender (204) NEW.
Columns can be changed/saved on the systemDefault view or any saved view.
With the desired View selected from the dropdown under “Your Views”, left click on the down arrow under “Hide/Show Columns”. (As below)

Selected/Displayed columns will be highlighted in blue with a check mark to the far right of the column name. (See example below)

To ADD a new column, left click on the column name line(s). The selected column line will turn blue with a checkmark at the end of the line indicating this column is now active and has been added. The selected column(s) will be added to the far right (last) within the selected view.
To REMOVE a column, left click on the applicable blue line(s) to remove from display.
NOTE: To remove all columns from view (with the exception of “Status”), left click on the red trash can icon. (As below)

To DISPLAY only those columns with errors that must be corrected prior to accepting
the EDI Load Tender, left click on the below button:
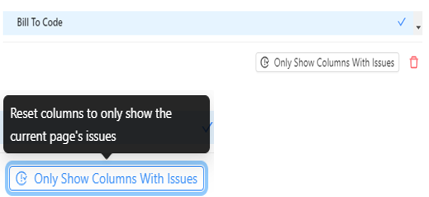
The columns with errors will display (as below) indicating there was no data received by the customer for those fields or the tender has not been previously captured/mapped to the correct order pro fields in the past.

To CHANGE the order of the columns, left click and hold on the 6 dots to the right of the column name then move the column left or right to the desired position. (See examples below)

To RESIZE the width of any column, hover over the line between two columns until the sizer left/right arrow appears. Next, left click and hold. (A vertical blue line will appear) Move the line left or right to the desired column width and release.

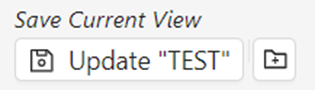
NOTE: If you wish to save any column order or resize changes, be sure to left click on the “Update (Filter Name)” button below “Save Current View”. (As below)
Four additional Column options are available after left clicking the “Preferences” button. (As below)


“Show Pins” - Left click in the box to display a “Pin” to the right of each Column name. Left click on the “Pin” symbol to apply to that Column name. Left click again to deselect. The “Pin” will turn gray when active. (See example below)

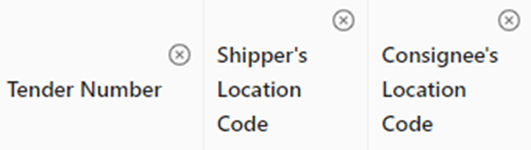
“Show Close Button” - Left click in the box to display the (Close button) to the right of each Column name. HINT: When this viewing option is selected, Columns can be removed by left clicking on the Close button. (See example below)
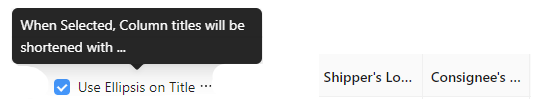
“Use Ellipsis on Title” - Left click in the box to shorten certain Column names/width within the displayed view. (See example below)
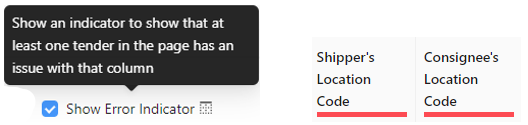
“Show Error Indicator” - Left click in the box to display a red line indicator that at least one Load Tender on the displayed page has an error within that field that must be corrected prior to accepting the Tender. (See example below)