To access the Dispatch Optimizer (D.O.) from SWS main menu, go to Easy Operations, left click on Dispatch, then left click on Dispatch Optimizer.
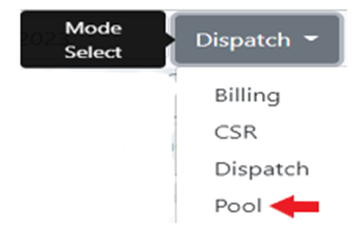
“Pool” mode can be used to manage the equipment pools within a defined area. To access “Pool” mode, left click on the “Dispatch” dropdown arrow then left click on “Pool”. (As below) Mode
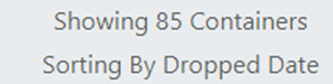
Based on applied “Pool” filter settings (see filter settings training module), a list of containers (empty and/or loaded) within the user’s filtered region will display. The default sort is “By Dropped Date”. (As below)
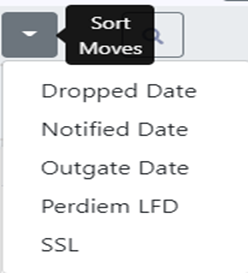
Left click on the drop-down arrow above the Pool list to view the full list of sorting options. Left click on the desired sort to update view. (As below)
NOTE: Sort Options will need to be selected when in “Map” view. User can flip to “Table View” to sort by SSL and/or assign empty moves to a driver. See D.O. Table View Training Module for additional information.
Description of Sort Options:
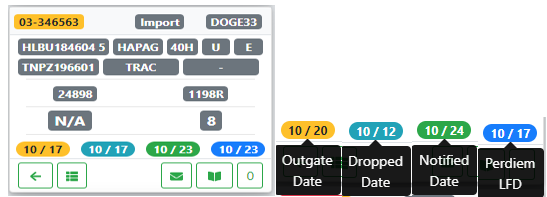
Dropped Date: Lists the container drop date – default view (past to current)
Notified Date: Lists the container notify empty date (past to current)
Outgate Date: Lists the container outgate date (past to current)
Perdiem LFD: Lists the container perdiem LFD (past to future)
SSL: When this sort is selected, the below window will display listing all applicable SSL’s (Steamship Lines/container owners) that are included in the current Pool Mode filter.
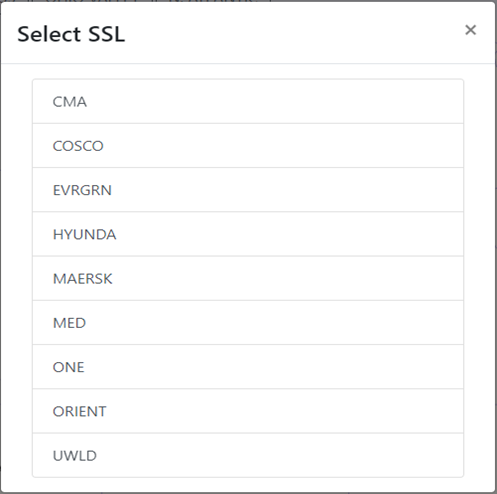
Left click on the desired SSL to display the records/moves with that equipment owner. (Example below)
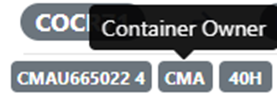
Hover over any of the colored ovals on the equipment move “card” below to display the applicable date.
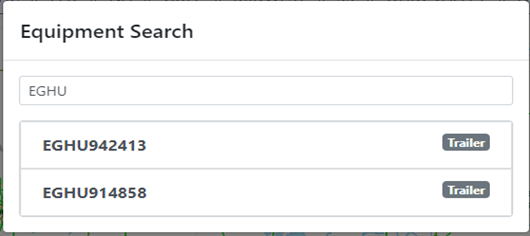
If using the Magnifying Glass/Search option to locate a container # or filter by location Profile, the below box will display:
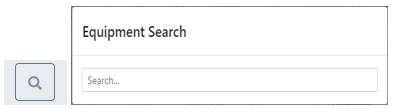
This search field uses typeahead and all results that contain the entered data will display. When the desired selection is displayed, left click on that option. (See example below)
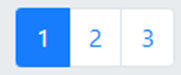
Page # - left click on a page # to advance to that page or to view a previous page (As below)
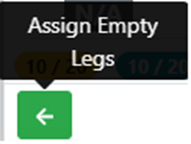
At the bottom of the equipment move “card”, there are several actions buttons. (As below)

Left click on the left arrow symbol below to assign that equipment move (or moves) if a driver has been selected to dispatch. (As below)
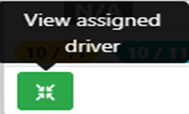
If the equipment move is currently assigned, the below action button will display. Left click on the button to view the driver’s position on the map indicated by a red arrow.
If a container # move “card” displays the below action button, the user can update or “Notify” a loaded container as empty from Pool Mode.
Left click on the above button and the below window will display:
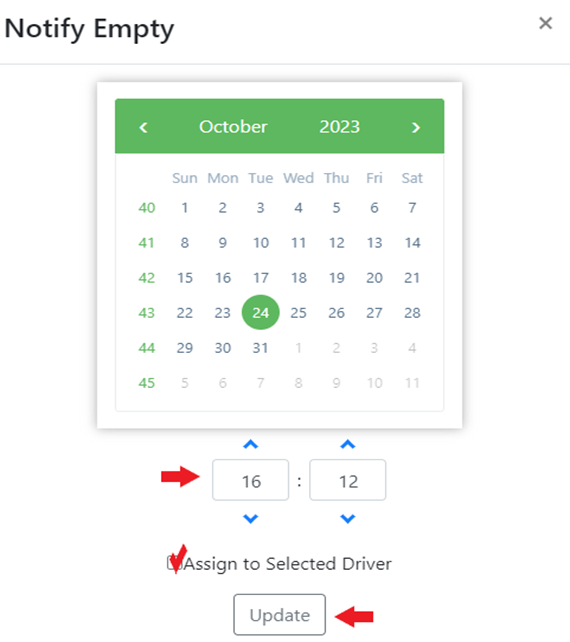
Left click on the applicable calendar date and update/change the time to match the time/date that the container # was reported to be empty. Next, left click on the “Update” button to record the change on the equipment move “card”. (As above)
NOTE: If applicable, left click in the box to the left of “Assign to Selected Driver” to assign the empty equipment move to an already selected driver. Once a container has been notified as empty, a left arrow replaces the “Notify Empty” action button.
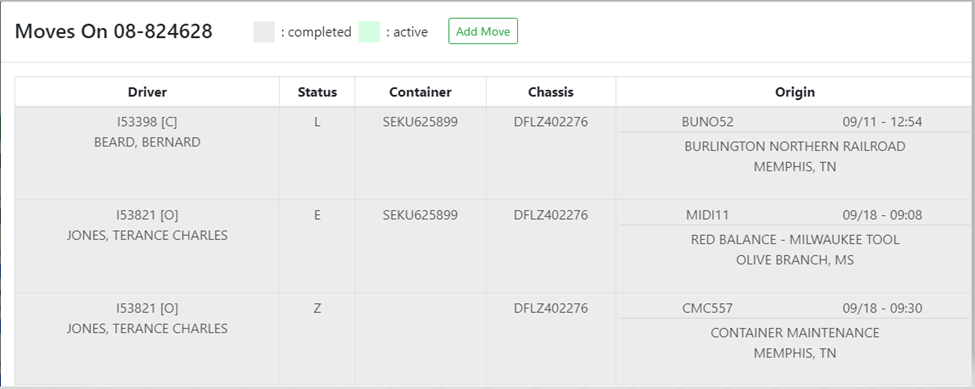
Left click on the “Show Moves On Order” action button to display all moves on the selected Pro. “Completed” moves will be shaded in light gray and “active” moves (current dispatch) will display in light green. The “Add Move” action button will be covered in another training module. (See example below)
Left click on the “Rail Bill” action button to request empty billing for a container. (Covered in another training module. (As below)

Left click on the “Open Order” action button to open the order screen in another window. (As below)
If the ”View Order Notes” box is shaded in Yellow with a number inside the box, this indicates there are order notes to view. Left click in the box to view the order notes onscreen. (As below)

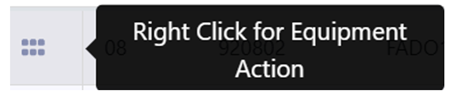
In LIST view, right click on the 6 dots on any equipment line to display “Equipment Actions” as defined above. (See below)