To access the Dispatch Optimizer (D.O.) from SWS main menu, go to Easy Operations, left click on Dispatch, then left click on Dispatch Optimizer.
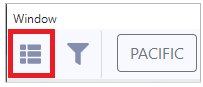
Upon launch of the application, “Map” view is the default setting. To use “Table” or “List” view, left click on the below symbol at the top left of the D.O.
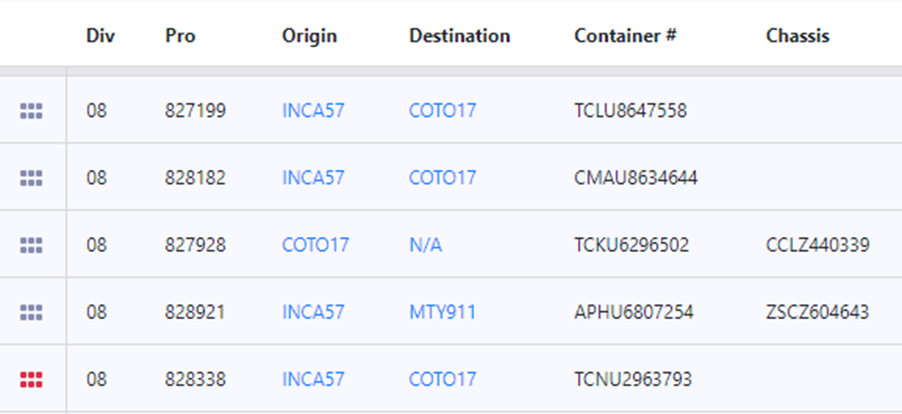
Based on applied filter settings (covered in another training module), available moves will show in the below format (abbreviated snapshot):
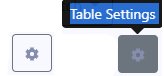
To SET/CUSTOMIZE TABLE SETTINGS, left click on this symbol at the top right of the screen:
The below window will display:

Left click on the “+” sign to the right of an “Available” Table Setting to add to the actual Table Setting “Display”. Left click on the “-” to the left of a Table Setting under “Display” to remove from the Table View. (See example above)
To change the order of the Table Settings, left click and hold on the desired Table Setting “card” under “Display” and move up or down to reorder.
Once changes have been completed, left click on the “x” at the top right corner of the Table Settings window or left click outside of the window to return to the Table View.
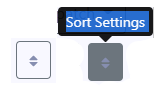
Left click on the up/down arrows above to “Sort (table) Settings”. The below window will display (abbreviated view):
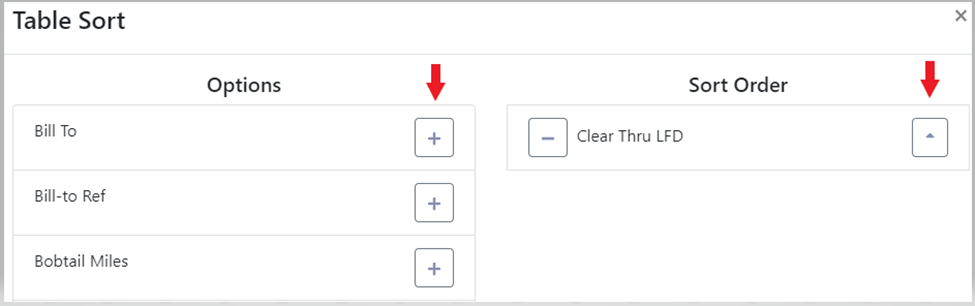
Left click on the “+” sign to the right of a Table name under “Options” to add it to the “Sort Order”. Once selected, left click on the single arrow to the right of the Table name. A down arrow = descending order & an up arrow = ascending order. Left click on the “-” to the left of a Table Name under the “Sort Order” column to remove from the sort. (See example above) To close the window, left click on the “x” at the top right corner of the Table Sort window or left click outside of the window to return to the Table View.
NOTE: It is possible to select & sort the data in more than one table setting/column name at the same time. Keep in mind the ascending & descending arrow may have to be manipulated per line so data displays in the desired order. For this reason, multiple “Sort Order” selections should be limited to no more than 3.
Left click on a page # to advance to that page or return to a previous page or left click on “First” or “Last” page. (As below)


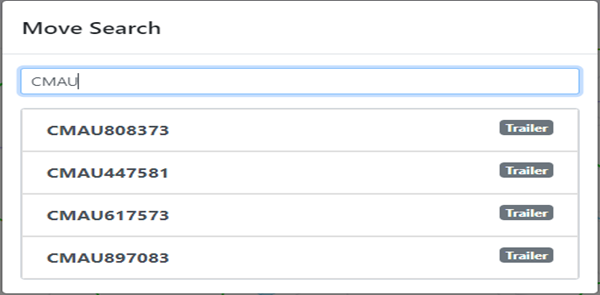
Left click on the “magnifying glass” action button (above) to search moves within the Table View by container # or location profile. If using the magnifying glass/search option, the below box will display:
This search field uses typeahead and all results that contain the entered data will display. When the desired selection is displayed, left click on that option. (See example below)
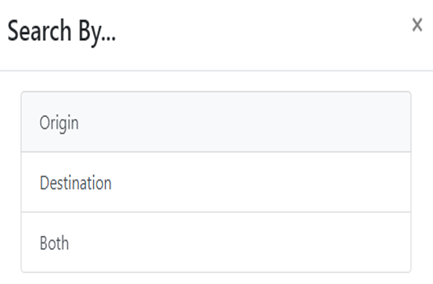
NOTE: If searching by LP code, once the desired location is selected, the below box will display. Left click on the desired option to display moves in table view. The current move search (below) will then display at the top of the screen.
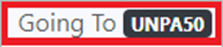
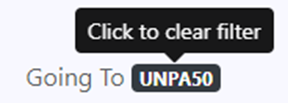
Left click on the current move search to clear the filter. (As below)
Use the “Search” field (below) to filter/find most data found in the table view: Pro #, Container #, Chassis #, Pickup #, etc. This search function also uses Typeahead; the more characters you type in this field the narrower the results should be.

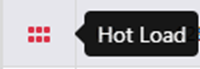
The 6 red dots (as below) indicate a “Hot Load”.

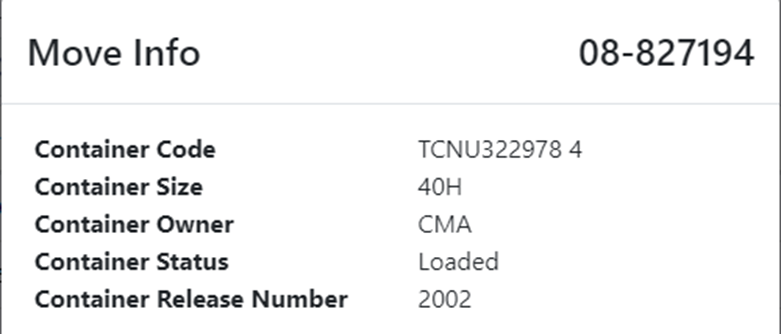
Right click on the 6 dots (above) at the beginning of a move line to display “More Info”. (Abbreviated snapshot below)

Left click on the calendar action button above to search container “per diem LFD”. The below window will display:
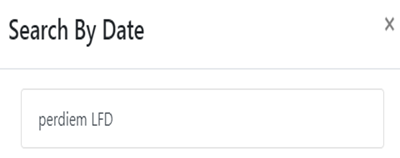
Left click anywhere in the ”perdiem LFD” field and a calendar will popup. Left click on the desired perdiem LFD and the results (if any) will be displayed. The selected date will display at the top of the page. To clear filter, left click on the date. (As below)

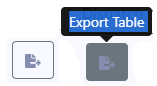
To EXPORT table (save to computer), left click on the below symbol. A popup window will display allowing the file to be saved.
Any Location Profile field that appears in blue can be edited by left clicking on that field. (See example below)
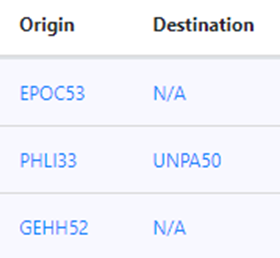
In the “Location Search” field, type the new Location Profile to change/update. Left click on the desired selection to update location.

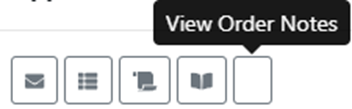
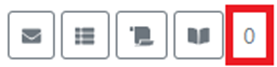
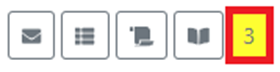
To VIEW ORDER NOTES, right click on the 6 dots to the left of the Pro, then left click on the “Order Notes” action button located at the bottom of the screen. If this action button displays as “0”, there are no “Order Notes”. Otherwise, the action button will be shaded yellow with the total number of viewable notes. (As below)