Para acceder al Optimizador de Despacho (O.D.) desde el menú principal de SWS, ve a Operaciones Fáciles, haz clic izquierdo en Despacho, luego haz clic izquierdo en Optimizador de Despacho.
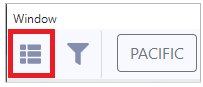
Al iniciar la aplicación, la vista "Mapa" es la configuración predeterminada. Para usar la vista "Tabla" o "Lista", haz clic izquierdo en el símbolo de abajo en la parte superior izquierda del O.D.
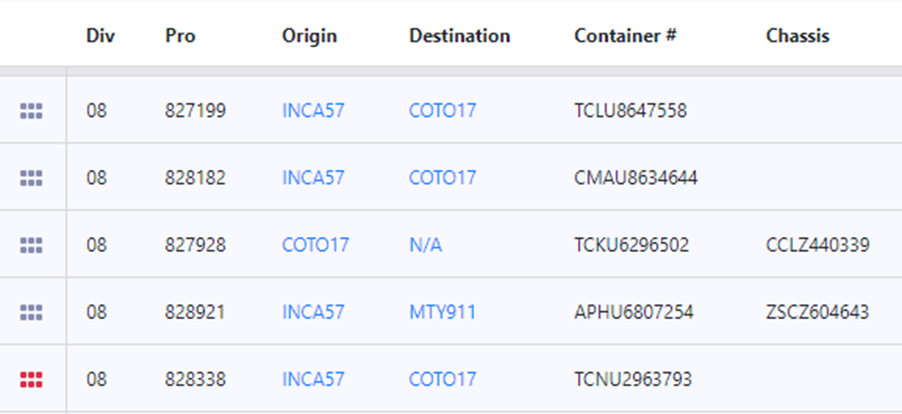
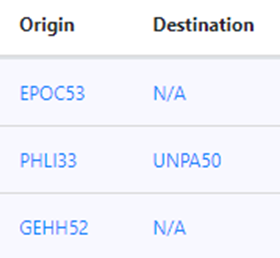
Según la configuración de filtros aplicados (cubierta en otro módulo de capacitación), los movimientos disponibles se mostrarán en el siguiente formato (captura de pantalla abreviada):
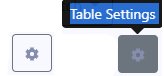
Para CONFIGURAR/PERSONALIZAR LOS AJUSTES DE LA TABLA, haz clic izquierdo en este símbolo en la esquina superior derecha de la pantalla:
Se mostrará la siguiente ventana:

Haz clic izquierdo en el signo "+" a la derecha de un ajuste de tabla "Disponible" para agregarlo a la visualización actual del ajuste de tabla "Mostrar". Haz clic izquierdo en el signo "-" a la izquierda de un ajuste de tabla en "Mostrar" para eliminarlo de la vista de tabla. (Ver ejemplo arriba)
Para cambiar el orden de la Configuración de Tabla, haz clic izquierdo y mantén presionado en la Configuración de Tabla deseada "tarjeta" bajo "Mostrar" y mueve hacia arriba o hacia abajo para reordenar.
Una vez que hayas completado los cambios, haz clic izquierdo en la "x" en la esquina superior derecha de la ventana de Configuración de Tabla o haz clic izquierdo fuera de la ventana para volver a la Vista de Tabla.
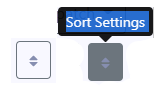
Haz clic izquierdo en las flechas hacia arriba/abajo arriba para "Ordenar (tabla) Configuración". La siguiente ventana se mostrará (vista abreviada):
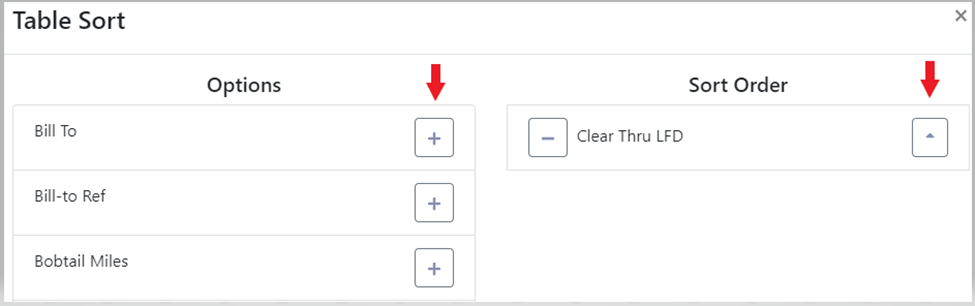
Left click on the “+” sign to the right of a Table name under “Options” to add it to the “Sort Order”. Once selected, left click on the single arrow to the right of the Table name. A down arrow = descending order & an up arrow = ascending order. Left click on the “-” to the left of a Table Name under the “Sort Order” column to remove from the sort. (See example above) To close the window, left click on the “x” at the top right corner of the Table Sort window or left click outside of the window to return to the Table View.
NOTE: It is possible to select & sort the data in more than one table setting/column name at the same time. Keep in mind the ascending & descending arrow may have to be manipulated per line so data displays in the desired order. For this reason, multiple “Sort Order” selections should be limited to no more than 3.
Left click on a page # to advance to that page or return to a previous page or left click on “First” or “Last” page. (As below)


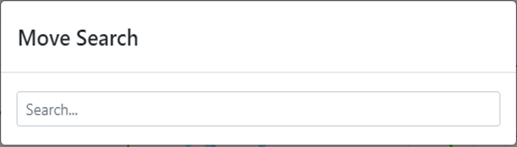
Left click on the “magnifying glass” action button (above) to search moves within the Table View by container # or location profile. If using the magnifying glass/search option, the below box will display:
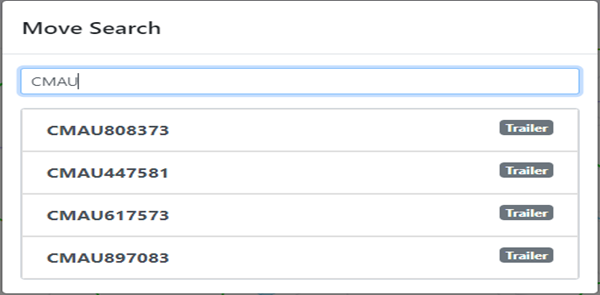
This search field uses typeahead and all results that contain the entered data will display. When the desired selection is displayed, left click on that option. (See example below)
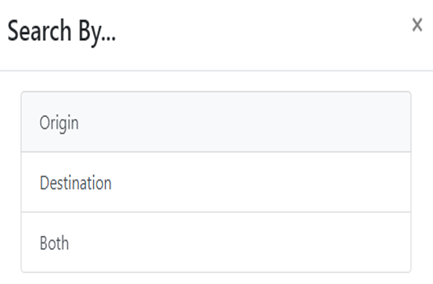
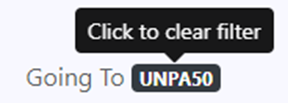
NOTA: Si buscas por código LP, una vez que se selecciona la ubicación deseada, aparecerá el siguiente cuadro. Haz clic izquierdo en la opción deseada para mostrar los movimientos en vista de tabla. La búsqueda de movimiento actual (abajo) se mostrará entonces en la parte superior de la pantalla.
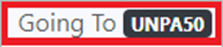
Haz clic izquierdo en la búsqueda de movimiento actual para limpiar el filtro. (Como se muestra abajo)
Usa el campo "Buscar" (abajo) para filtrar/encontrar la mayoría de los datos que se encuentran en la vista de tabla: Pro #, Container #, Chassis #, Pickup #, etc. Esta función de búsqueda también utiliza Typeahead; cuantos más caracteres escribas en este campo, más estrechos serán los resultados.

The 6 red dots (as below) indicate a “Hot Load”.
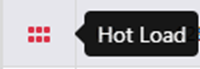

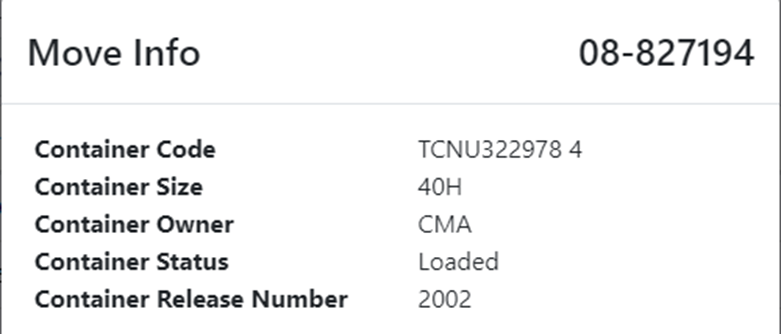
Right click on the 6 dots (above) at the beginning of a move line to display “More Info”. (Abbreviated snapshot below)

Left click on the calendar action button above to search container “per diem LFD”. The below window will display:
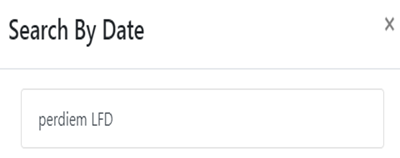
Left click anywhere in the ”perdiem LFD” field and a calendar will popup. Left click on the desired perdiem LFD and the results (if any) will be displayed. The selected date will display at the top of the page. To clear filter, left click on the date. (As below)

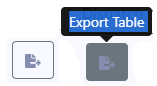
To EXPORT table (save to computer), left click on the below symbol. A popup window will display allowing the file to be saved.
Any Location Profile field that appears in blue can be edited by left clicking on that field. (See example below)
In the “Location Search” field, type the new Location Profile to change/update. Left click on the desired selection to update location.

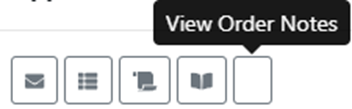
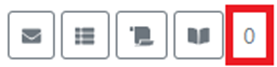
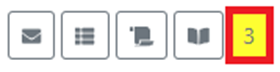
To VIEW ORDER NOTES, right click on the 6 dots to the left of the Pro, then left click on the “Order Notes” action button located at the bottom of the screen. If this action button displays as “0”, there are no “Order Notes”. Otherwise, the action button will be shaded yellow with the total number of viewable notes. (As below)