Export/Import User Filters
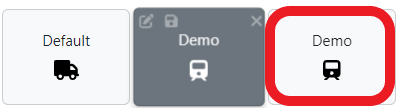
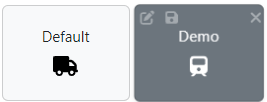
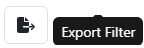
To EXPORT a Filter, first left click on the applicable filter (will be shaded dark gray once selected), then left click on the “Export Filter” button located at the top right of the window. (As below)
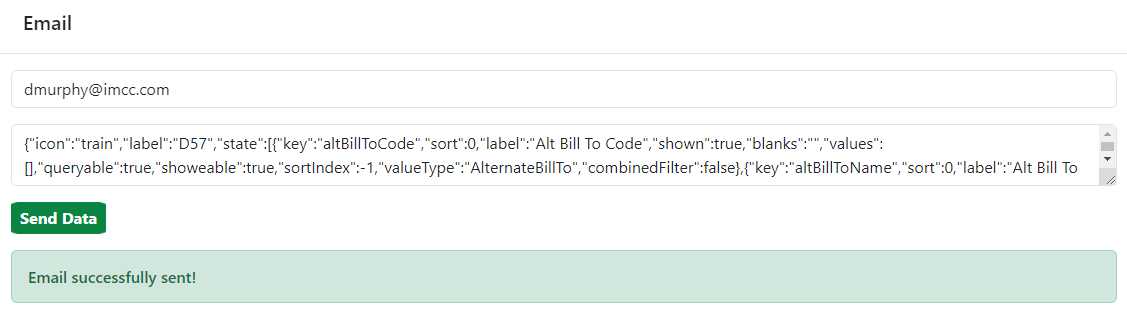
The below window will display. In the “Email” field, type the email address(es) of the IMC employee(s) you wish to send this Filter to. All of the individual filters that are applied within the filter to be exported will be copied automatically in the middle section. Lastly, left click on the “Send Data” button.

If the email was sent, an “Email successfully sent” message will display. (As below)
HINT: Use this function to share filters with fellow employees.
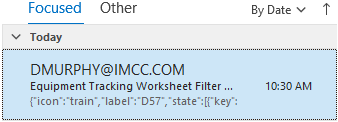
To IMPORT a Filter, first check your email for the Exported Filter. (See example email below)
Next, with the email displayed, left click in the body of the email then hit <Ctrl> A, to select all text, then hit <Ctrl> C to copy all text. Next, left click on the “Import Filter” button located at the top right of the window. (As below)
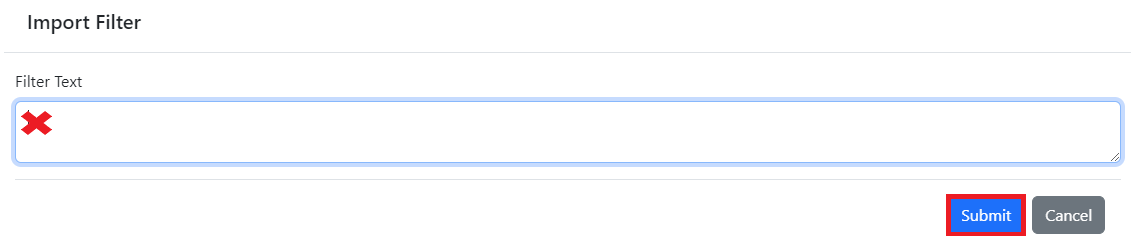
The below window will display. Left click in the “Filter Text” field, then hit <Ctrl> V to paste the copied text into the field. Next, hit the “Submit” button. (As below)
The below message should display then clear:
A filter with the exact same name and filter parameters will be added to the list of Filters within the Equipment Tracking Worksheet. (Example below)