To access the Doc Audit Portal, go to:
Upon launch of the portal, “Rejected” is the default status. The current status will display at the top center of the page. (As below)
Users will have five (5) statuses to choose from under the “DocAudit” dropdown located at the top right of the page upon launch of the portal. Left click on the dropdown, then left click on the desired status name to select. (As below)

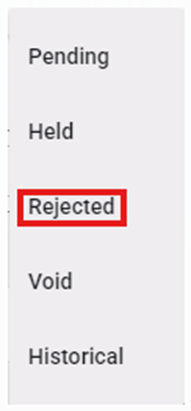
NOTE: Except for “Rejected” status, Operations will have “Read Only” access to the other dropdown selections.
To Audit a particular Pro in “Rejected” status, left click on the line to open the document viewing and (if applicable) action window. (See example below)
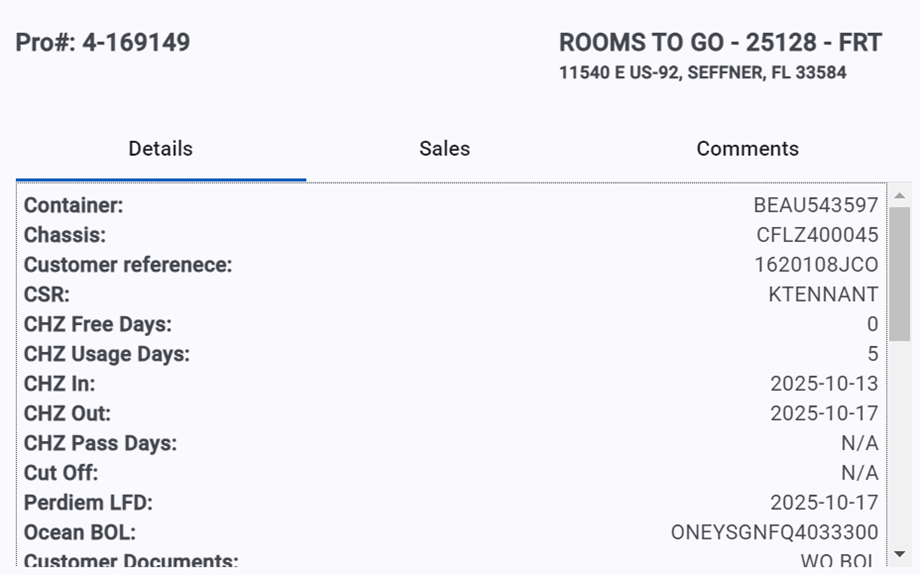
The Pro “Details” will display (as above) including the Pro # and BillTo information. Left click on the “Sales” header to view T300 accessorial sales. (As below)

To view the reason the selected document is rejected, left click on the “Comments” header. (As below)


NOTE: If you wish to enter any comments related to the reason for document rejection, enter them in the “Leave a comment here” field above, then left click the “Submit” button. Comments are not required.
Left click on the “Cancel” button at the bottom of the page to return to the list of Rejected Docs. (As below)

For Operations, there are two actions that can be performed when viewing “Rejected” documents:
1) Reclassifying the document
2) Voiding the document
1) - Upon researching, if a document was rejected but is valid and needs to be resubmitted to be audited again, first left click on the dropdown arrow to the right of “Reclassify Document” and select the correct document classification. (As below)

Next, left click on the green “Resubmit” button located at the bottom of the page. (As below)

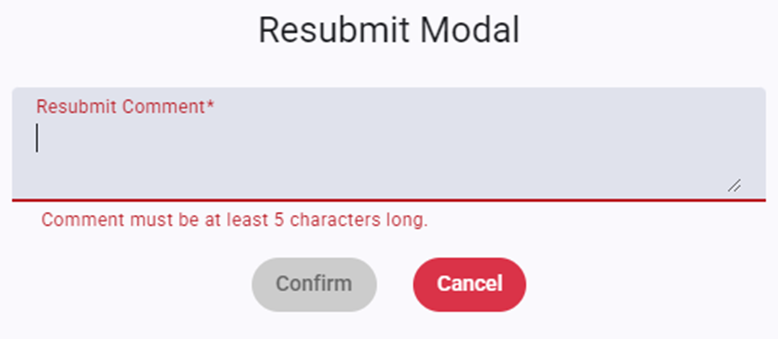
The below “Resubmit Modal” window will popup. A “Resubmit Comment” is required. Type the comment in the field (minimum of 5 characters) then left click on the “Confirm” button. The “Confirm” button will be active (and turn green) once the minimum characters are entered. To abort the process, left click on the red “Cancel” button. (As below)
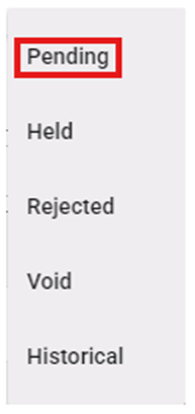
NOTE: Documents that are reclassified and resubmitted will immediately move under the “Pending” status dropdown back into the audit que. (As below)

2) - Upon researching, if a document was rejected and does not apply to the associated Pro, it should be Voided. First, left click on the black “Void” button located at the bottom of the page. (As below)

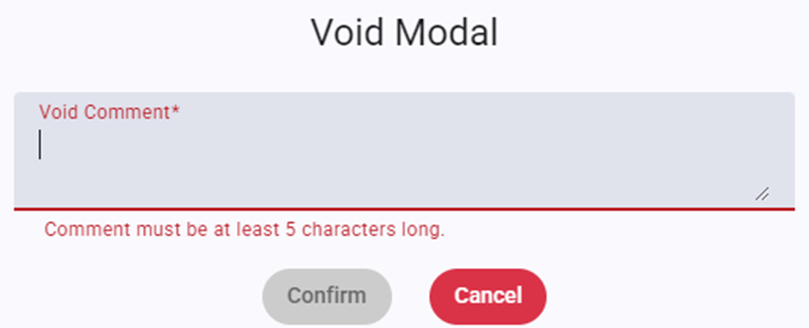
The below “Void Modal” window will popup. A “Void Comment” is required. Type the comment in the field (minimum of 5 characters) then left click on the “Confirm” button. The “Confirm” button will be active (and turn green) once the minimum characters are entered. To abort the process, left click on the red “Cancel” button. (As below)
SPECIAL NOTE: Prior to Voiding a doc, if it should be uploaded to another Pro, use the “Save” button located at the top of the screen. (As below) Once downloaded, the doc can be dropped into SmartDoc.

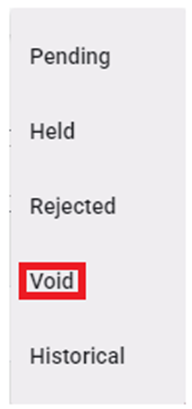
NOTE: Documents that are voided will immediately move under the “Void” status dropdown. (As below)

NAVIGATION: When reviewing the rejected documents, if applicable, left click on the right arrow located in the middle right of the page to move to the next document (or next Pro). The current doc number will display at the bottom left of the page. (As below)


Reversely, left click on the left arrow located in the middle left of the page to move to the previous document (or previous Pro). (As below)