To access the Dispatch Optimizer (D.O.) from SWS main menu, go to Easy Operations, left click on Dispatch, then left click on Dispatch Optimizer.
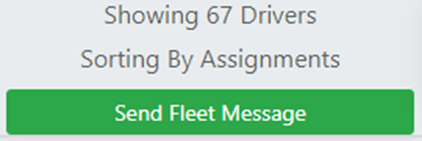
Based on applicable filter settings, a list of Drivers will display on the left-hand side of the page with the total # of drivers and the selected sort shown at the top of the list. (See example below)
NOTE: By default, drivers will be sorted by the number of (dispatch) Assignments. However, new driver messages (in red) will always be at the top and will not be impacted by a selected sort option. The applied sort will begin with the first green message bubble.
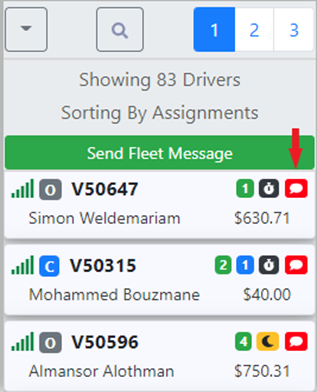
HINT: New driver messages (red bubble) should be prioritized. The driver at the top of the list of new messages indicates the oldest message.
To Read & Confirm a driver’s message, left click on the bubble itself. The RED explanation point indicates an “Unconfirmed” message. Left click on this symbol to confirm the message. (As below)
NOTE: Left click on the info symbol (as below) to view the message worksheet in a non-editable view.

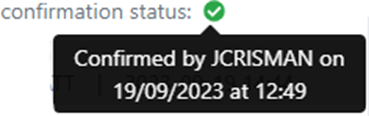
The explanation point will then turn GREEN. Hover over this symbol to view who confirmed the message & the time it was confirmed. (As below)
NOTE: To Unconfirm a message, simply left click on the green explanation point. The message will return to an unconfirmed status (red explanation point).
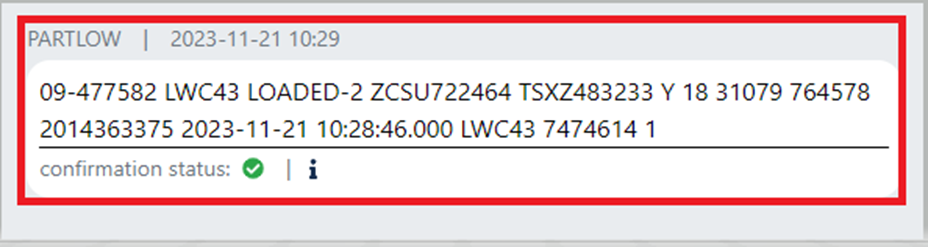
An example of a driver’s message “board” or “worksheet” is below:
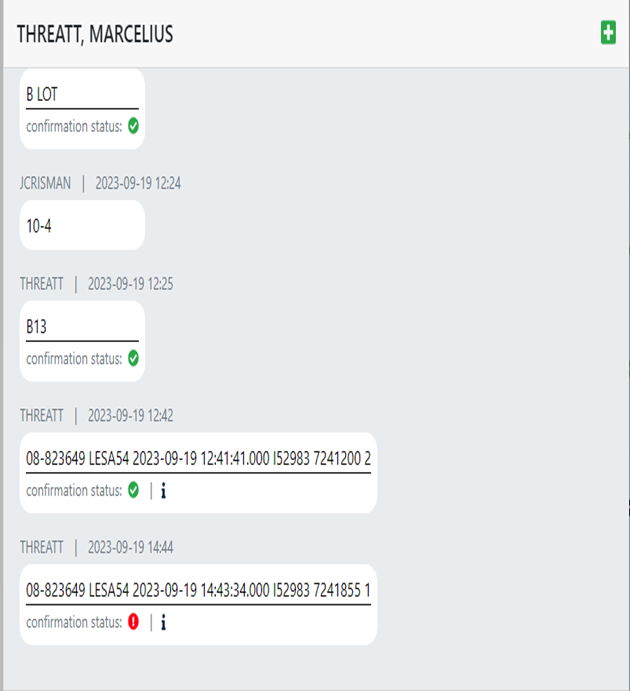
When a driver sends in a loaded message for an export container, it will look like the below:
When you left click on the red explanation point to confirm the loaded event message, the below window will display:
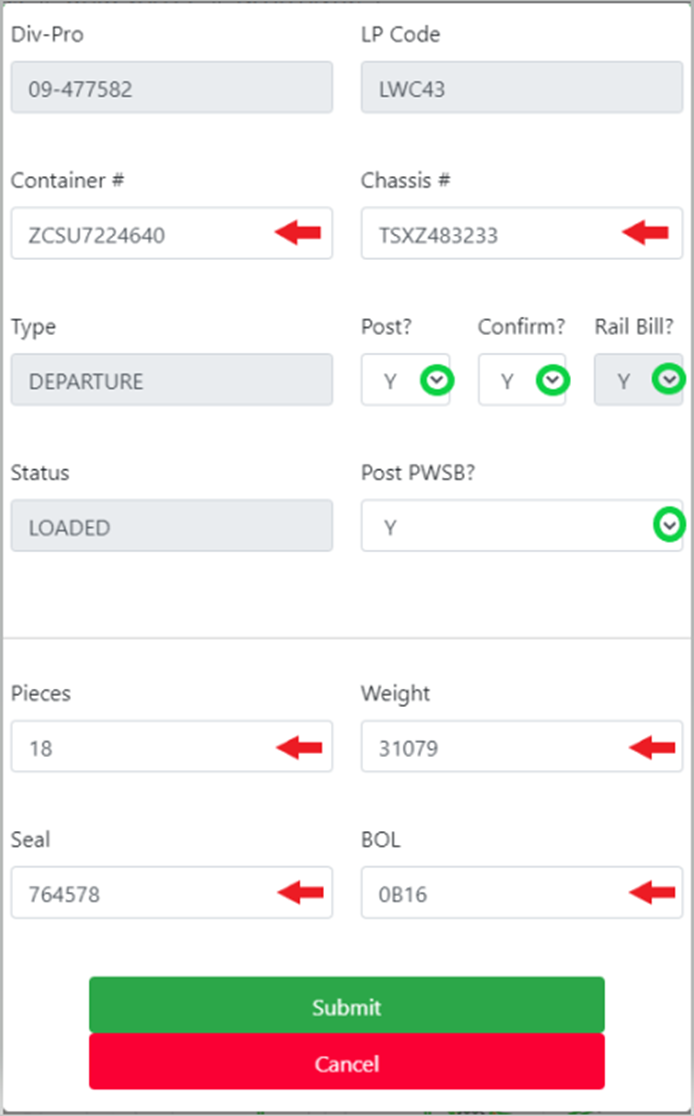
If necessary, five (5) fields can be edited within this window: Container #, Chassis #, Pieces, Weight, Seal and BOL. (As indicated by red arrows above)
The four (4) dropdown arrow fields will all default to “Y” for YES. (As indicated by green circles above)
Post: “Y” will Post (update) this event in the applicable leg of dispatch in the Pro itself.
Confirm: “Y” will Confirm the message.
Rail Bill: “Y” will send an email to the CSR on the order as well as the user who Submits the message that loaded billing needs to be checked. NOTE: Leaving a “Y” as the default in this field DOES NOT send loaded billing.
Post PWSB: “Y” will Post (update) the Pieces, Weight, Seal and BOL fields in the Pro itself.
Left click on the green ”Submit” button once the applicable selections have been made.
NOTE: Left click on the red “Cancel” button to return to the message.
The D.O. will hold 3 days of messages compared to the legacy message worksheet. To view up to 21 days of messages, left click on the green “Plus +” mark to the right of the driver’s name when that driver’s message worksheet is displayed. (As below)

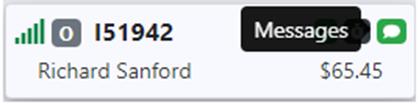
To Send a driver a message, first left click on the green (or red) message bubble.
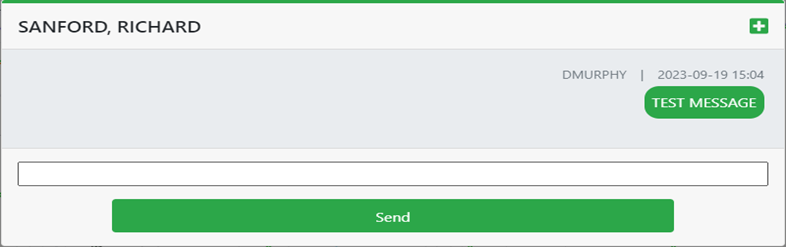
Next, type the message in the text box then left click on the green “Send” button. (As below)

The message will then appear in the driver’s message worksheet. (As below)
To Send a Fleet Message,
Left click on the green “Send Fleet Message” button located above the driver list. (As below)
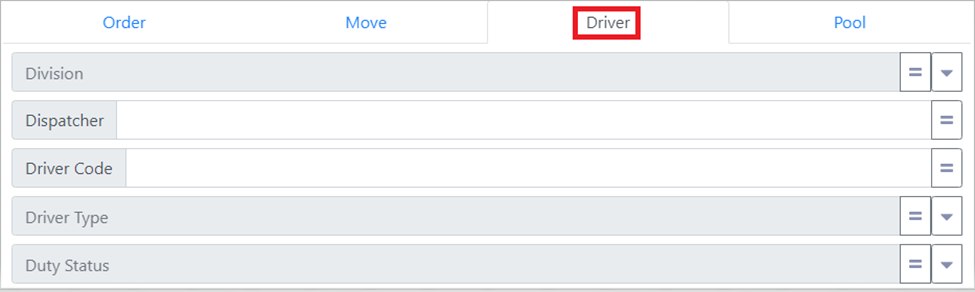
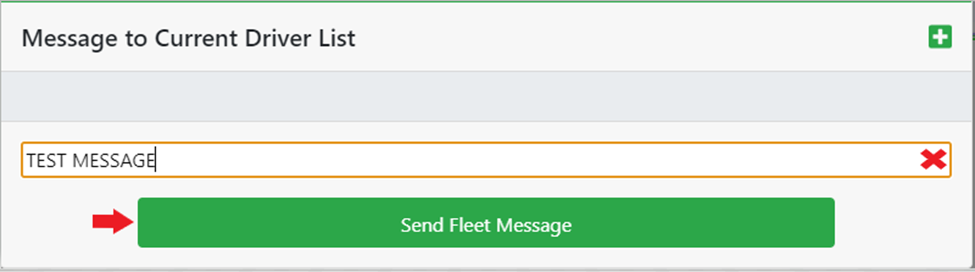
NOTE: When using the ”Fleet Message” option, the message will be sent to the driver(s) that have been selected in the applied filter under the ”Driver” tab.
Next, type the message in the text box then left click on the green “Send Fleet Message” button. (As below)
Filters are covered in another training module but for reference, drivers can be filtered by Division, Dispatcher, Driver Code, etc. By using these filter options, you can create a customized “Fleet Message” driver list.