To access the Lift screen from SWS main menu, go to Depot, left click on Activity, then left click on Lifts 3.0. The below screen will display:
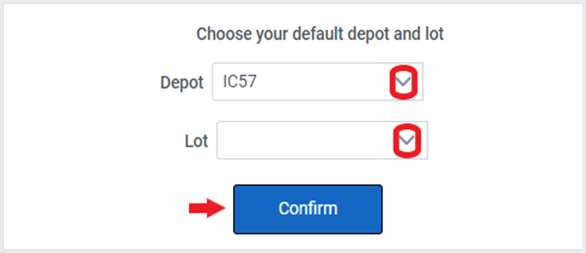
The Depot field should default to the user’s depot location. If applicable, the “Lot” field will need to be selected. To change the selection for “Depot” and/or “Lot”, use the dropdown arrows. Left click on the “Confirm” button to continue.
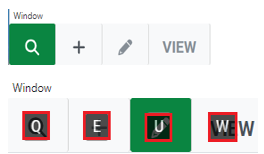
Query mode is the default. If necessary, hold down the “Ctrl” button to display the available hot keys. (As below)
To ADD a lift record, follow the below procedures:
First, left click on the “+” or “Add” function from the Command line or use <Ctrl E>. The below screen will display:

Left click in the “Container” field and enter the container # to be added (without the Check Digit). Next, hit the right arrow key to advance to the “Lift from” field.
If the container entered has not yet been processed in the EIR Screen, the below message will display:

The EIR record in the Saved Queue must be processed before the Lift record can be added. Otherwise, a warning message will display. (See example below)

If the Container is already in the Depot inventory, the Container #, Customer Name and equipment Status will appear at the top of the screen. (See example below)

NOTE: A lift record will auto create if 1) The container is being lifted from a Flatbed 2) The chassis has been bypassed or 3) The Container & Chassis are entered into Split accounts
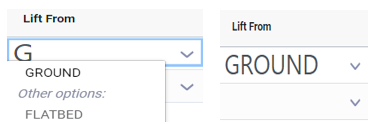
In the “Lift From” field (if applicable), type the chassis # the container is being removed from. Otherwise, select either “Ground” or “Flatbed” from the dropdown. Alternatively, type a “G” for “Ground” or “F” for “Flatbed”. The field will auto-populate with that selection. (As below)
Next, hit the right arrow key to advance to the next field. If applicable, in the “Lift To” field, select either “Ground” or “Flatbed” from the dropdown. Alternatively, type a “G” for “Ground” or “F” for “Flatbed”. The field will auto-populate with that selection.
Next, hit the right arrow key to advance to the “Stack” field. If applicable, type the name of the Stack in this field. Next, hit the right arrow key to advance to the next field.
In the “Carrier” field, type the name of the drayman that the driver works for. Typically, this information will appear on the side of the tractor. If not, confirm the carrier’s name with the driver. Next, hit the right arrow key to advance to the next field.
In the “Type” field, left click on the dropdown arrow to display a list of selections. (As below) Left click on the desired “Type” to select. Alternatively, begin typing in the field and the available selections will display. Use the down arrow to select the desired “Type” (active line will be green) and hit the <Enter> key to select.
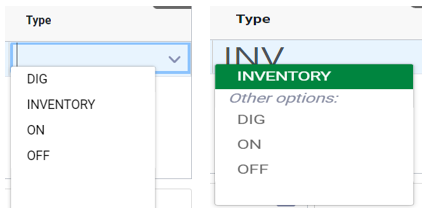
Explanation of Lift Type:
DIG- The container to be mounted is in a stack and requires the Lift Driver to “DIG” into the stack to retrieve the container.
INVENTORY- This Lift Type is used to move containers to the shop, move to another stack, or another lot within that Depot.
ON- Lifting a container onto a chassis or flatbed
OFF- Lifting a container off of a chassis or flatbed
Once all information has been entered, left click on the blue “Add” button located at the top of the screen to add the lift record. (As below)

NOTE: Lift information can be entered for multiple containers prior to hitting the “Add” button.
To add another container line, left click on the green “+” sign. To delete a line prior to adding the record, left click on the red “trash can” icon. To erase the data in a current entry line, left click on the “Clear” button located at the top left of the screen. (As below)

When adding a Lift record, if the container is not in the Depot inventory, a warning message will display. (See example below)
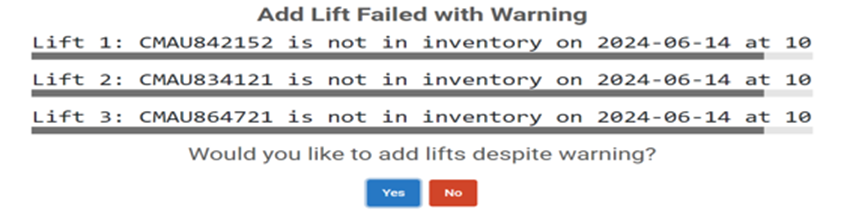
In this case, double check the container #. If the container # needs to be corrected, left click on the red “No” button to return to the Lift screen to make the correction and attempt to Add the Lift record again. If the container # is correct, left click on the blue “Yes” button. An email alert will be automatically sent to the Depot Equipment Specialist if any Lift records are added for containers not in the inventory.
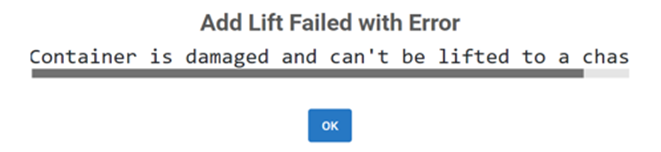
NOTE: Only containers with a status of 12, 15, 16, 18 and ST can be lifted to a chassis. Otherwise, the below message will display preventing a Lift record from being added.
If the “Add” record is successful, the “Lift Date” and “Lift Time” fields located at the top right of the screen will auto populate. (See example below)

NOTE: If a Lift record is missed, these two fields can be updated/backdated so that the correct date & time of the Lift can be recorded.
To view Lift activity, from SWS main menu go to Depot, left click on Equipment Control, then left click on Equipment Master. Next, query the applicable container # you wish to view. Individual Lift transactions are included in the Equipment Master container record. (See example below)

