The query screen is the first screen or the landing page when you open EIR Process. The EIR screen will allow a user to query or search any field on the screen. The green magnifying glass is the query/search button. A query can be run in any field and can return up to 5000 records.

The screen will display the name of the field in which the cursor is located. (See below example):
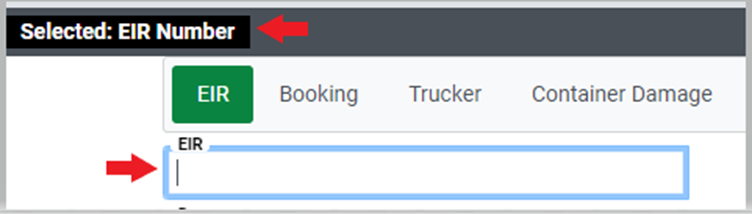
Once you have input data in the applicable fields, press the “Esc” key on your keyboard (cursor will move to the “Run Query” button) and then press the “Enter” key to initiate the Query. Alternatively, you can left click on the “Run Query” button.
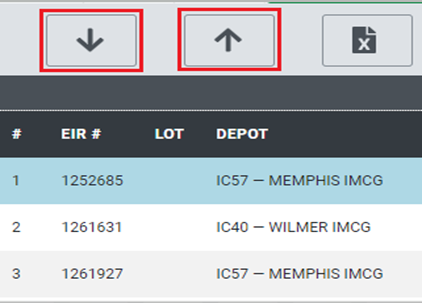
The system will display all records for the query criteria entered. If multiple records exist, a list will display on the left-hand side. Left click on the up & down buttons (or use the scroll wheel on the mouse) to navigate through the list. (as below)
To view a particular record, left click on the applicable line. The record will then be displayed on the right-hand side of the screen. (See below example):
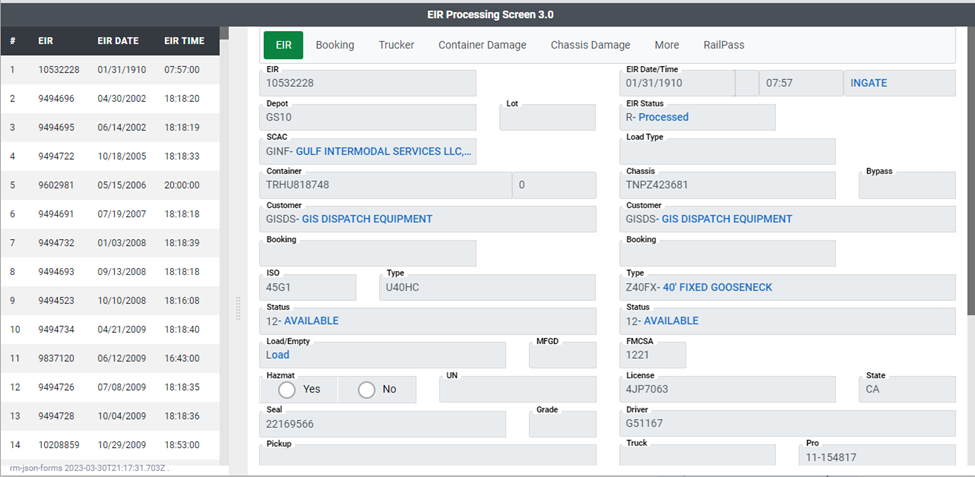
The green “VIEW” tab displays the total number of records returned from the last query request.

From the “VIEW” tab there are several action buttons available.
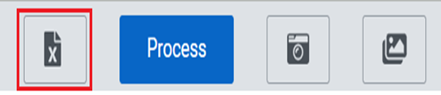
Left click on the Export button to generate an Excel document of the query results.
Also, while in VIEW mode, the system will allow for processing of a Saved interchange.

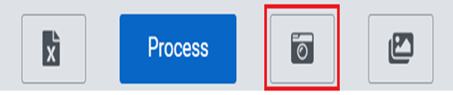
Left clicking on the camera icon will open the camera on the tablet, laptop, or workstation to take pictures of damaged equipment. You can left click on the red “Take Again” button if necessary or the blue “Use this photo” button to save the photo(s) to imaging.

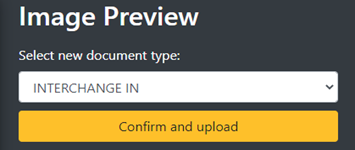
If you click “Use this photo” the below “Image Preview” box will display and allow you to preview the photo and save the picture in the Equipment document type. Left click “Confirm and upload” after document type has been selected from the dropdown menu.
The document icon will allow for viewing and printing of captured photos and interchange documents.

