To access the Dispatch Optimizer (D.O.) from SWS main menu, go to Easy Operations, left click on Dispatch, then left click on Dispatch Optimizer.
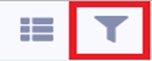
The “Filter” button is located at the top left corner of the D.O. (as below) and is used to create saved filters as well as manipulate data on drivers, equipment moves and equipment pools to assist in the driver dispatch process.
The D.O. will store up to a total of 10 (ten) saved filters. Each filter can be individually named and will appear in a dropdown menu located at the top of the D.O. For new users, “Default” will be the name of the first filter upon launch of the application. (As below)
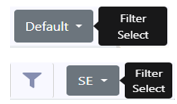
Left click on the “Filter Select” dropdown button to view all saved filters. Left click on the filter you wish to view and/or change.
To ADD a filter, first left click on the “Filter” button, then left click on the “+” sign. (As below)

In the example below, only the “Default” filter exists so the default name for the next added filter is “Filter 2”. (As below)

To rename the filter, type the desired information in the “Name” field and then left click on the disk button to the far right of the field. (As below)

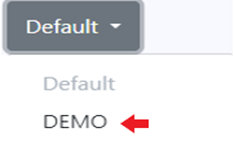
This new filter is now saved in the “Filter Select” dropdown. (As below)
NOTE: To rename an already saved filter, after selecting the filter from the “Filter Select” dropdown follow the same steps as above to rename the filter.
To DELETE a filter, select the filter from the “Filter Select” dropdown, then left click on the “-” sign. (As below)

HINT: Be sure to select the correct filter prior to hitting the “-” sign. Once you delete a saved filter, it cannot be recovered and must be recreated.
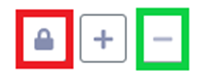
To LOCK a filter and prevent accidental deletion, select the filter from the “Filter Select” dropdown, then left click on the symbol in red below.
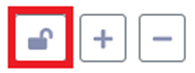
The selected filter will then show “Locked” and the “-” sign will be grayed out and inactive. Left click on the “Lock” symbol again to remove. (As below)
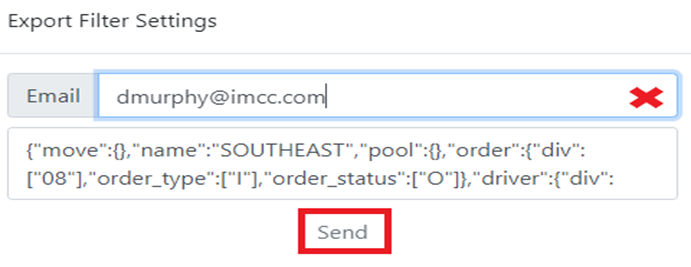
To EXPORT a saved filter to another D.O. user, from the “Filter Select” dropdown, left click on the filter name first, then left click on the Export button. (As below)

The below window will display. Type the email address of the user you wish to send the filter to in the “Email” field and then left click on the “Send” button.
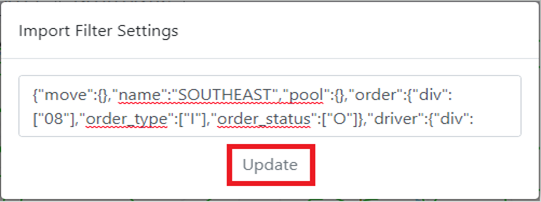
To IMPORT a filter that has been exported to you, first open the email that was sent and copy ALL of the text in the body of the email. Next, left click on the Import button and paste ALL of the copied data from the email into the field. Next, left click on the “Update” button. (As below)

{"move":{},"name":"SOUTHEAST","pool":{},"order":{"div":["08"],"order_type":["I"],"order_status":["O"]},"driver":{"div":["08"]},"move_sort":"Rank","pool_sort":"Dropped Date","move_table":["4","13","28","29","15","2","11","9","30","23","60","70","17","67"],"driver_sort":"Assignments","equipment_table":["1","2","3","5","11","19","17"],"move_table_sort":[{"id":60,"type":"order","order":"dsc","data_type":"date","object_key":"clearthrulfd"}],"equipment_table_sort":[]}

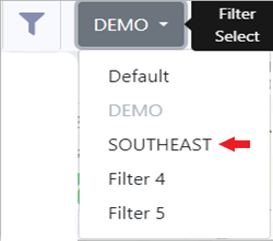
RESULT: A filter with the same name & settings will be added to the “Filter Select” dropdown.
NOTE: There must be space available to Import a Filter. If 10 saved filters already exist, one must be deleted before a new filter can be imported.
To CHANGE or set a filter, from the “Filter Select” dropdown, left click on the saved filter first, then left click on the Filter button. (As below)
The below window will display:

NOTE: To close this window at any time, left click anywhere outside the window itself.
Confirm that the filter Name displayed is the one you wish to change. There are 4 sorting options below the filter name (used to set default views) followed by 4 Tabs that can be selected to change existing filters individually. (As above)
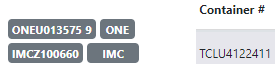
“Check Digit Visible”- Left click on this action button to change to “Check Digit Hidden”. The container # on all move cards or listed in table view will reflect what is selected here.
”Default Move Sort Rank”- Left click on this action button to display a list of possible default Sort options for the available (Equipment) Moves or (Dispatch) Moves. Left click on the desired Sort to select that filter. (As below) Next, left click outside the filter window to close said window.
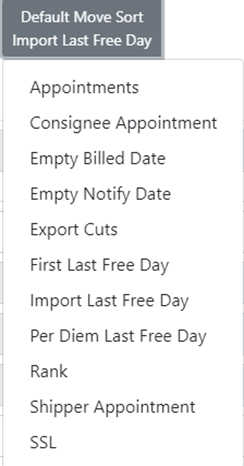
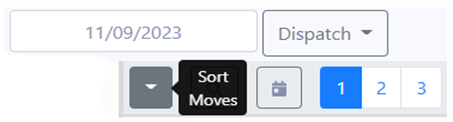
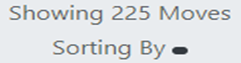
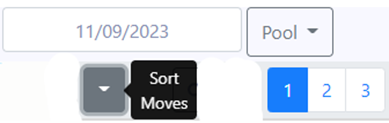
NOTE: These are the same sort options available from the “Sort Moves” dropdown in “Map” view. (See below)
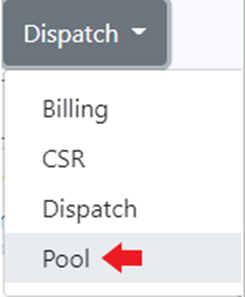
Once selected, to activate a default Move Sort, select another “MODE” from the dropdown and then select “Dispatch” Mode again to see the changes applied. (As below)
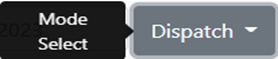
As an example, “Import Last Free Day” was selected as the Default Move Sort. “Dispatch” dropdown was changed to “Pool” then back to “Dispatch” mode. “Import Last Free Day” was then applied. (See example below)

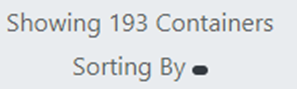
If “SSL” is selected, the Sort will not be applied and will display as below:
It will be necessary to reselect “SSL” from the “Sort Moves” dropdown & then select an actual SSL from the displayed list.
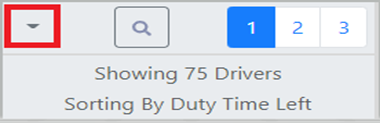
“Default Driver Sort Assignments”- Left click on this action button to display a list of possible default Driver Sort options. Left click on the desired Sort to select that filter. (As below) Next, left click outside the filter window to close said window.
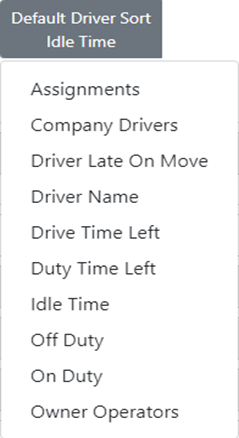
NOTE: These are the same sort options available from the Driver List dropdown in “Map” view. (See below)
Once selected, to activate a default Driver Sort, it is necessary to close the Dispatch Optimizer and then reopen the application.
“Default Pool Sort Dropped Date”- Left click on this action button to display a list of possible default Pool Sort options. Left click on the desired Sort to select that filter. (As below) Next, left click outside the filter window to close said window.
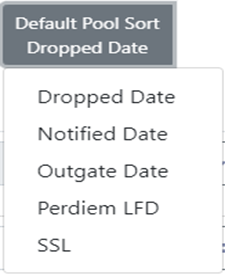
NOTE: These are the same sort options available from the “Sort Moves” dropdown from “Pool” mode in “Map” view. (See below)
Once selected, to activate a default Pool Sort, select another “MODE” from the dropdown and then select “Pool” Mode again to see the changes applied. Alternatively, if in “Dispatch” mode, when a new default Pool Sort is selected, the Sort will be active when “Pool” is selected from the Mode Select dropdown. (As below)
If “SSL” is selected, the Sort will not be applied and will display as below:
It will be necessary to reselect “SSL” from the “Sort Moves” dropdown & then select an actual SSL from the displayed list.
The 4 TABS below: “Order”, “Move”, “Driver” or “Pool” can also be used to CHANGE or set a filter.

Left click on any TAB to display the available filters. The “Order” TAB lists fields from the Order Screen. A few BASICS that apply to filters across all 4 TABS:
Any filter name that includes a dropdown arrow indicates there are multiple selections available. In the example below, multiple divisions can be selected by left clicking on the division # itself.
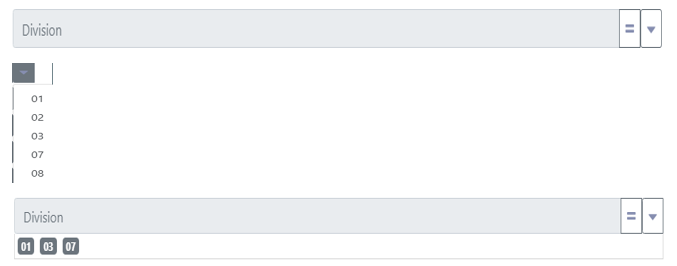
The selected values will be displayed within the field (as above). To DELETE a selection, simply left click on the value(s) you wish to delete.
NOTE: If no values are selected for a field that has a dropdown arrow, then All values will be displayed.
Fields displaying an “=” sign, left click on this button and it changes to Not = to. (As below)

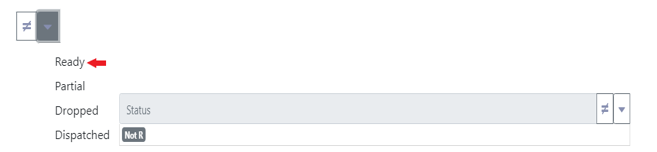
As an example, the “Status” filter includes both options below:

Left click on the “=” sign to change to Not = to. Next, left click on the dropdown arrow and select “Ready” status. The Filter would then be set to show orders with all status types except Ready. “Not R” will display in the Status field. (As below)


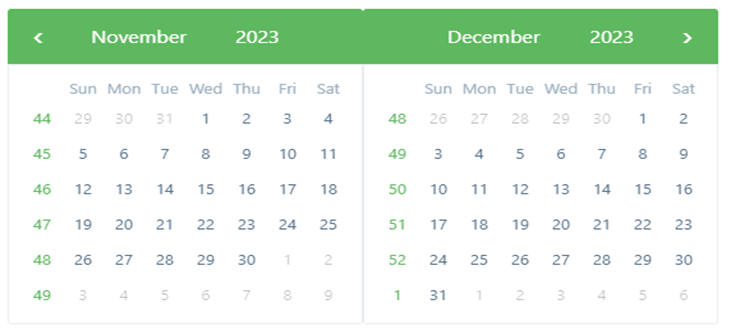
For those fields that require date entry, left click in the field to display a calendar. (As below)


For those fields that have an “x”, left click on the x to execute the filter. The “x” will change to a Check Mark. (As below)

NOTE: Any filters selected while using the D.O. will be saved automatically and will still be applied the next time the D.O. is accessed. Be sure to check each Tab for existing filters and adjust as needed to ensure the integrity of the data displayed.
SPECIAL NOTE: Under the “Driver” Tab, the two filters below can be especially useful.

Any Move (Tab) filters that have been set can be applied to your displayed Driver List by left clicking on the “x” action button.
Similarly, any Order (Tab) filters that have been set can be applied to your displayed Driver List by left clicking on the “x” action button.
Also, under the “Pool” Tab, these 3 filters exist to help manage empty containers: