The New Location Profile (LP) screen replaces the Legacy version.
To access the Location Profile Screen from SWS main menu, go to Customer Service, left click on File Maintenance, then left click on NewLocationProfileScreen
To ADD a new LP record (once it has been confirmed no LP code already exists), left click on the “Create new” action button located at the top right of the screen. (As below)

Next, type the address of the new location profile in the field below:
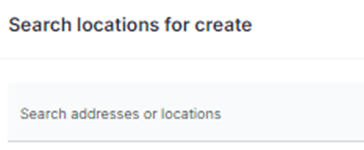
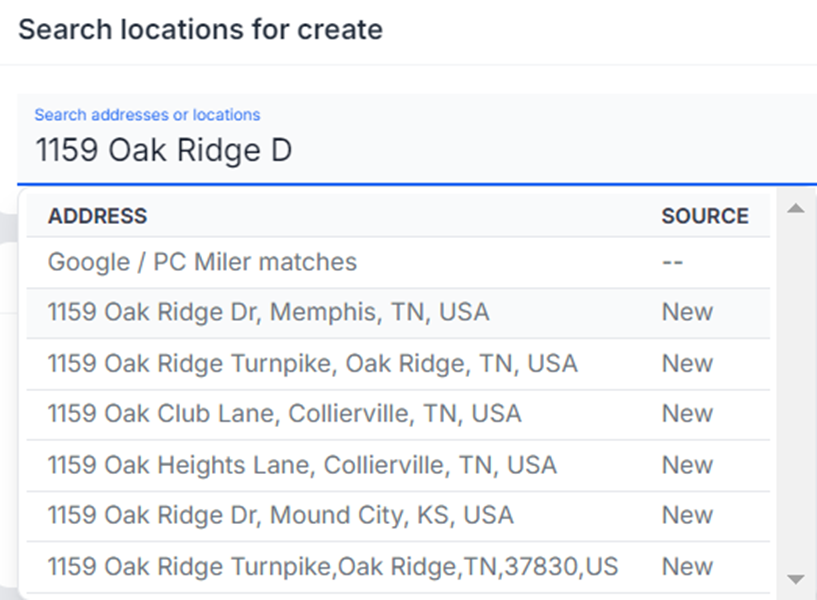
NOTE: This field uses typeahead and will display any matching addresses.
Once located, left click on the correct address to select. (See example below)
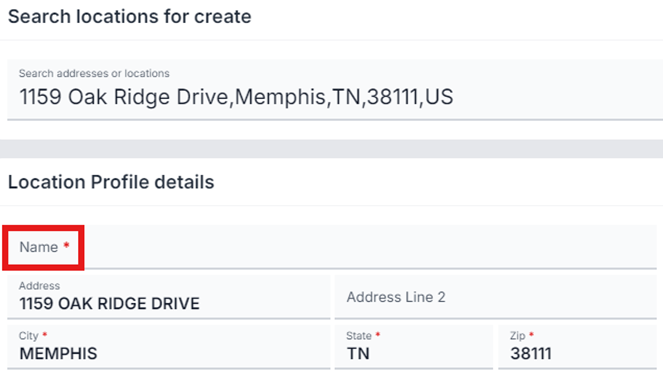
The “Name” of the business or entity (see field above) will need to be completed. If the “Zip” field does not populate, it should do so when the new record is created.
Next, left click on the green “Create” button located at the top right of the screen. (As below)

NOTE: Left click on the “Cancel” button to return to the launch screen.
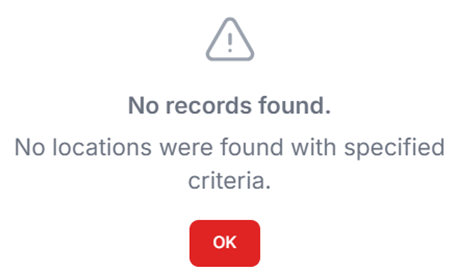
If any input errors have occurred, “Error!” messages will display. (See examples below)

NOTE: For Port and Rail locations, a Trace Code for that location will typically be required to initiate our track & trace services.
Once any existing errors have been corrected, left click on the green “Create” button again.
The below message will confirm the process:

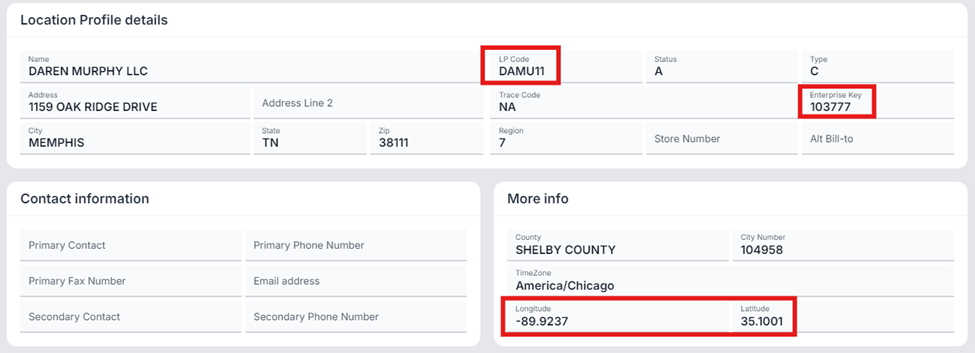
REMINDER: The system will automatically create the new LP Code, Enterprise Location Code and apply the correct Latitude and Longitude to the record. (See example below)
SPECIAL NOTE: Regardless of Region, when a user creates a new LP record, that LP code is added across ALL REGIONS!
NOTE: It is not possible to DELETE an LP code once created. Users must update/change the record to “Inactive” then create a new LP record with the correct information.