To access the EDI Worksheet from SWS main menu, go to Customer Service, left click on EDI, then left click on Load Tender (204) NEW.
Left click on the below symbol located at the top right of the worksheet to manage the “Appearance” of the worksheet as well as manage all “Filter Sets”.

NOTE: Left click on the “X” located at the top left of the “Preferences” window to close. (As below)

Under “Appearance” the two default settings are “light” and “comfy”. (As below)

To change one or both default settings, left click on the description toggle itself. (As below)

The active “Appearance” settings will appear in blue. (As below)

NOTA: Las selecciones se guardan y se aplicarán cuando se inicie la hoja de trabajo en el futuro. Haz clic izquierdo en una opción "Appearance" activa (azul) para volver a la configuración predeterminada.
Los usuarios pueden compartir/enviar cualquier Filtros o Vistas guardadas con otro usuario. Primero, haz clic izquierdo en el botón "Share". (Como se muestra a continuación)
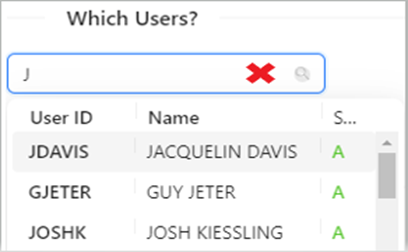
A continuación, haz clic izquierdo en el campo "Which Users?". Este campo utiliza typeahead; se mostrarán las coincidencias con los datos escritos. Haz clic izquierdo en el "User ID" que deseas agregar. (Como se muestra a continuación)
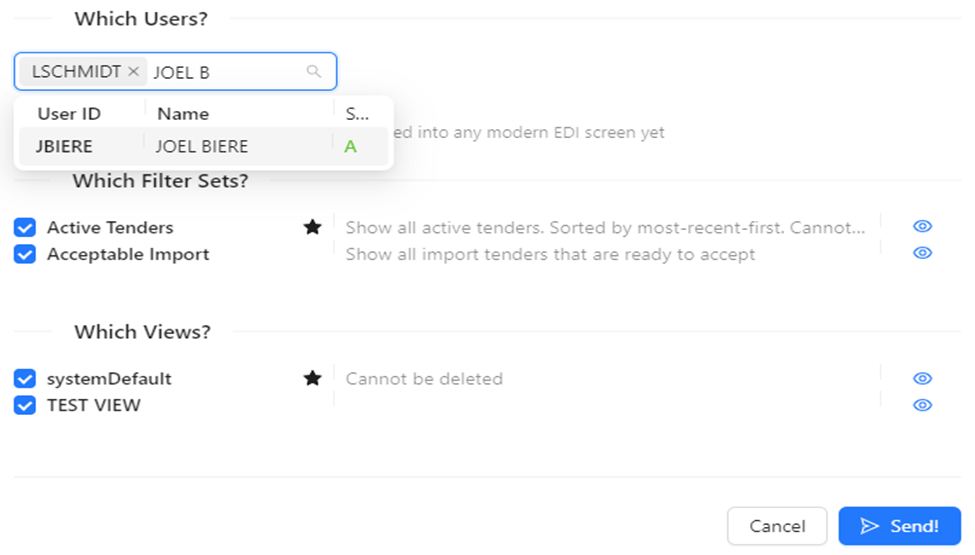
NOTA: Puedes compartir Filtros/Vistas con más de un usuario. Simplemente repite el proceso anterior hasta que se hayan agregado todos los ID de usuario.
A continuación, haz clic izquierdo en la casilla a la izquierda de los Conjuntos de filtros o Vistas que deseas compartir. A continuación, haz clic izquierdo en el botón azul "Enviar" para procesar la solicitud. Haz clic izquierdo en el botón "Cancelar" para volver a la pantalla anterior. (Ver ejemplo a continuación)
NOTA: Los Conjuntos de filtros y/o Vistas que envíes a otros usuarios aparecerán en las selecciones desplegables de ese usuario. El usuario sabrá quién se los envió.
Under “Filter Sets”, there are two (2) actions available:
Deleting a filter or filters and
Changing the default filter that will display upon launch of the worksheet
To DELETE one or more filters, first left click in the box to the left of the filter name. Next, left click on the “Delete” button. A warning message will display “This will remove the selected filter sets from your list.” Left click on “OK” to execute or left click on “Cancel” to abort. (See example below)
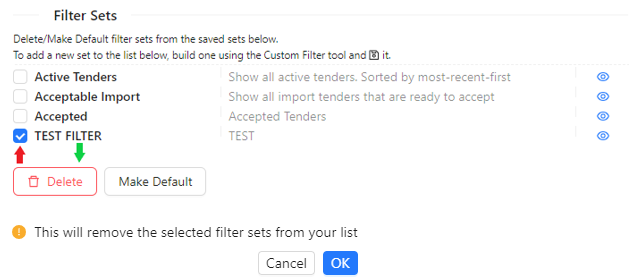
NOTE: The “Delete” button only becomes active once at least one (1) filter has been selected. It is recommended users not delete the three “preset” filters “Active Tenders”, “Acceptable Import” or “Accepted”.
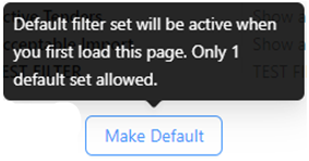
To CHANGE DEFAULT filter (displays upon launch of the worksheet) first select that filter by left clicking in the box to the left of the filter name. Next, left click on the “Make Default” button.
NOTE: “Active Tenders” is the default filter. The “Make Default” button only becomes active once one (1) filter has been selected. Only one filter can be set as the default. (As below)
Under “Views/Column Layout”, there are three (3) actions available:
Deleting a view
Changing the default view that will display when the “Customer Filter” tab is selected upon launch of the worksheet
Updating the order of the columns within a saved view
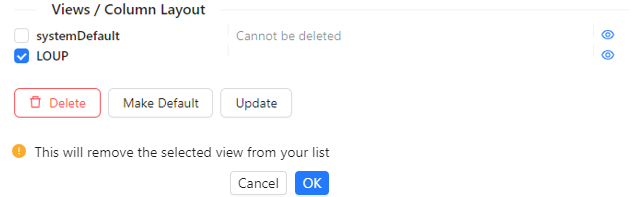
To DELETE one or more views, first left click in the box to the left of the filter name. Next, left click on the “Delete” button. A warning message will display “This will remove the selected view from your list.” Left click on “OK” to execute or left click on “Cancel” to abort. (See example below)
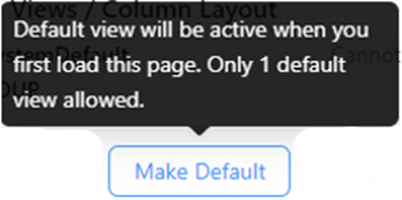
Para CAMBIAR PREDETERMINADA vista (se muestra cuando la pestaña "Custom Filter" está seleccionada al iniciar la hoja de cálculo), primero selecciona esa vista haciendo clic izquierdo en la casilla a la izquierda del nombre de la vista. Luego, haz clic izquierdo en el botón "Make Default".
NOTA: "systemDefault" es la vista predeterminada. El botón "Make Default" solo se activa una vez que se ha seleccionado una (1) vista. Solo una vista puede establecerse como predeterminada. (Como se muestra a continuación)
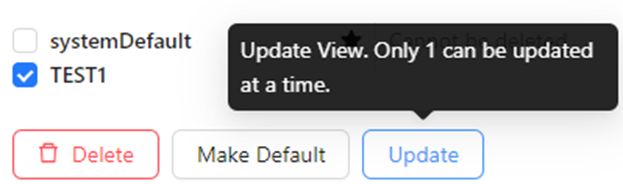
Para CAMBIAR el nombre de una VISTA:
Primero, haz clic izquierdo en la casilla a la izquierda de la Vista que deseas cambiar. Luego, haz clic izquierdo en el botón "Actualizar". (Como se muestra a continuación)
Se mostrará una ventana de selección de columnas. En la parte superior izquierda de la ventana hay un campo "Título de Vista" que indica el nombre de la vista mostrada. Haz clic izquierdo en el campo, borra el nombre actual e ingresa el nombre deseado. Luego, haz clic izquierdo en el botón azul "Guardar" ubicado en la parte inferior derecha de la ventana. (Como se muestra a continuación)

Para CAMBIAR CONFIGURACIÓN DE COLUMNA, consulta el Módulo de Capacitación de Configuración de Columna.
